Red Bean Buns: Sweet Taste That Awakens Childhood Memories
Hello everyone! Today I’m sharing a traditional pastry filled with warm memories—Red Bean Buns. From the smooth, sweet homemade red bean paste to the soft, elastic bun wrapper, every step holds secrets to making better buns. Master these techniques, and you can make healthier, more delicious red bean buns than store-bought ones!
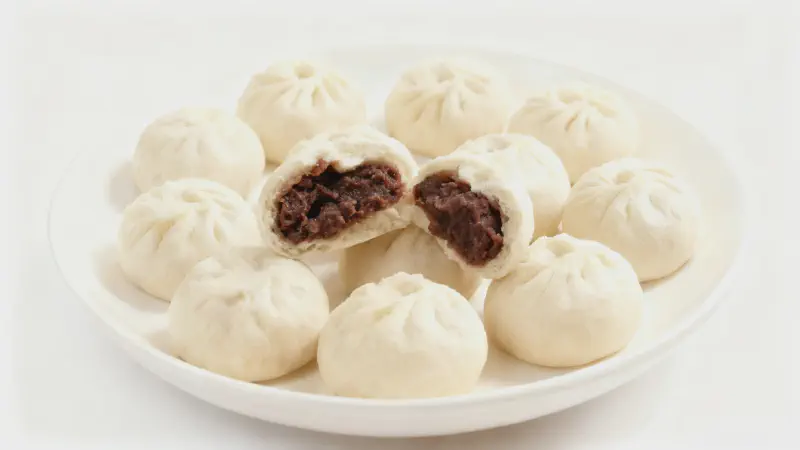
First, admire these plump, white red bean buns!
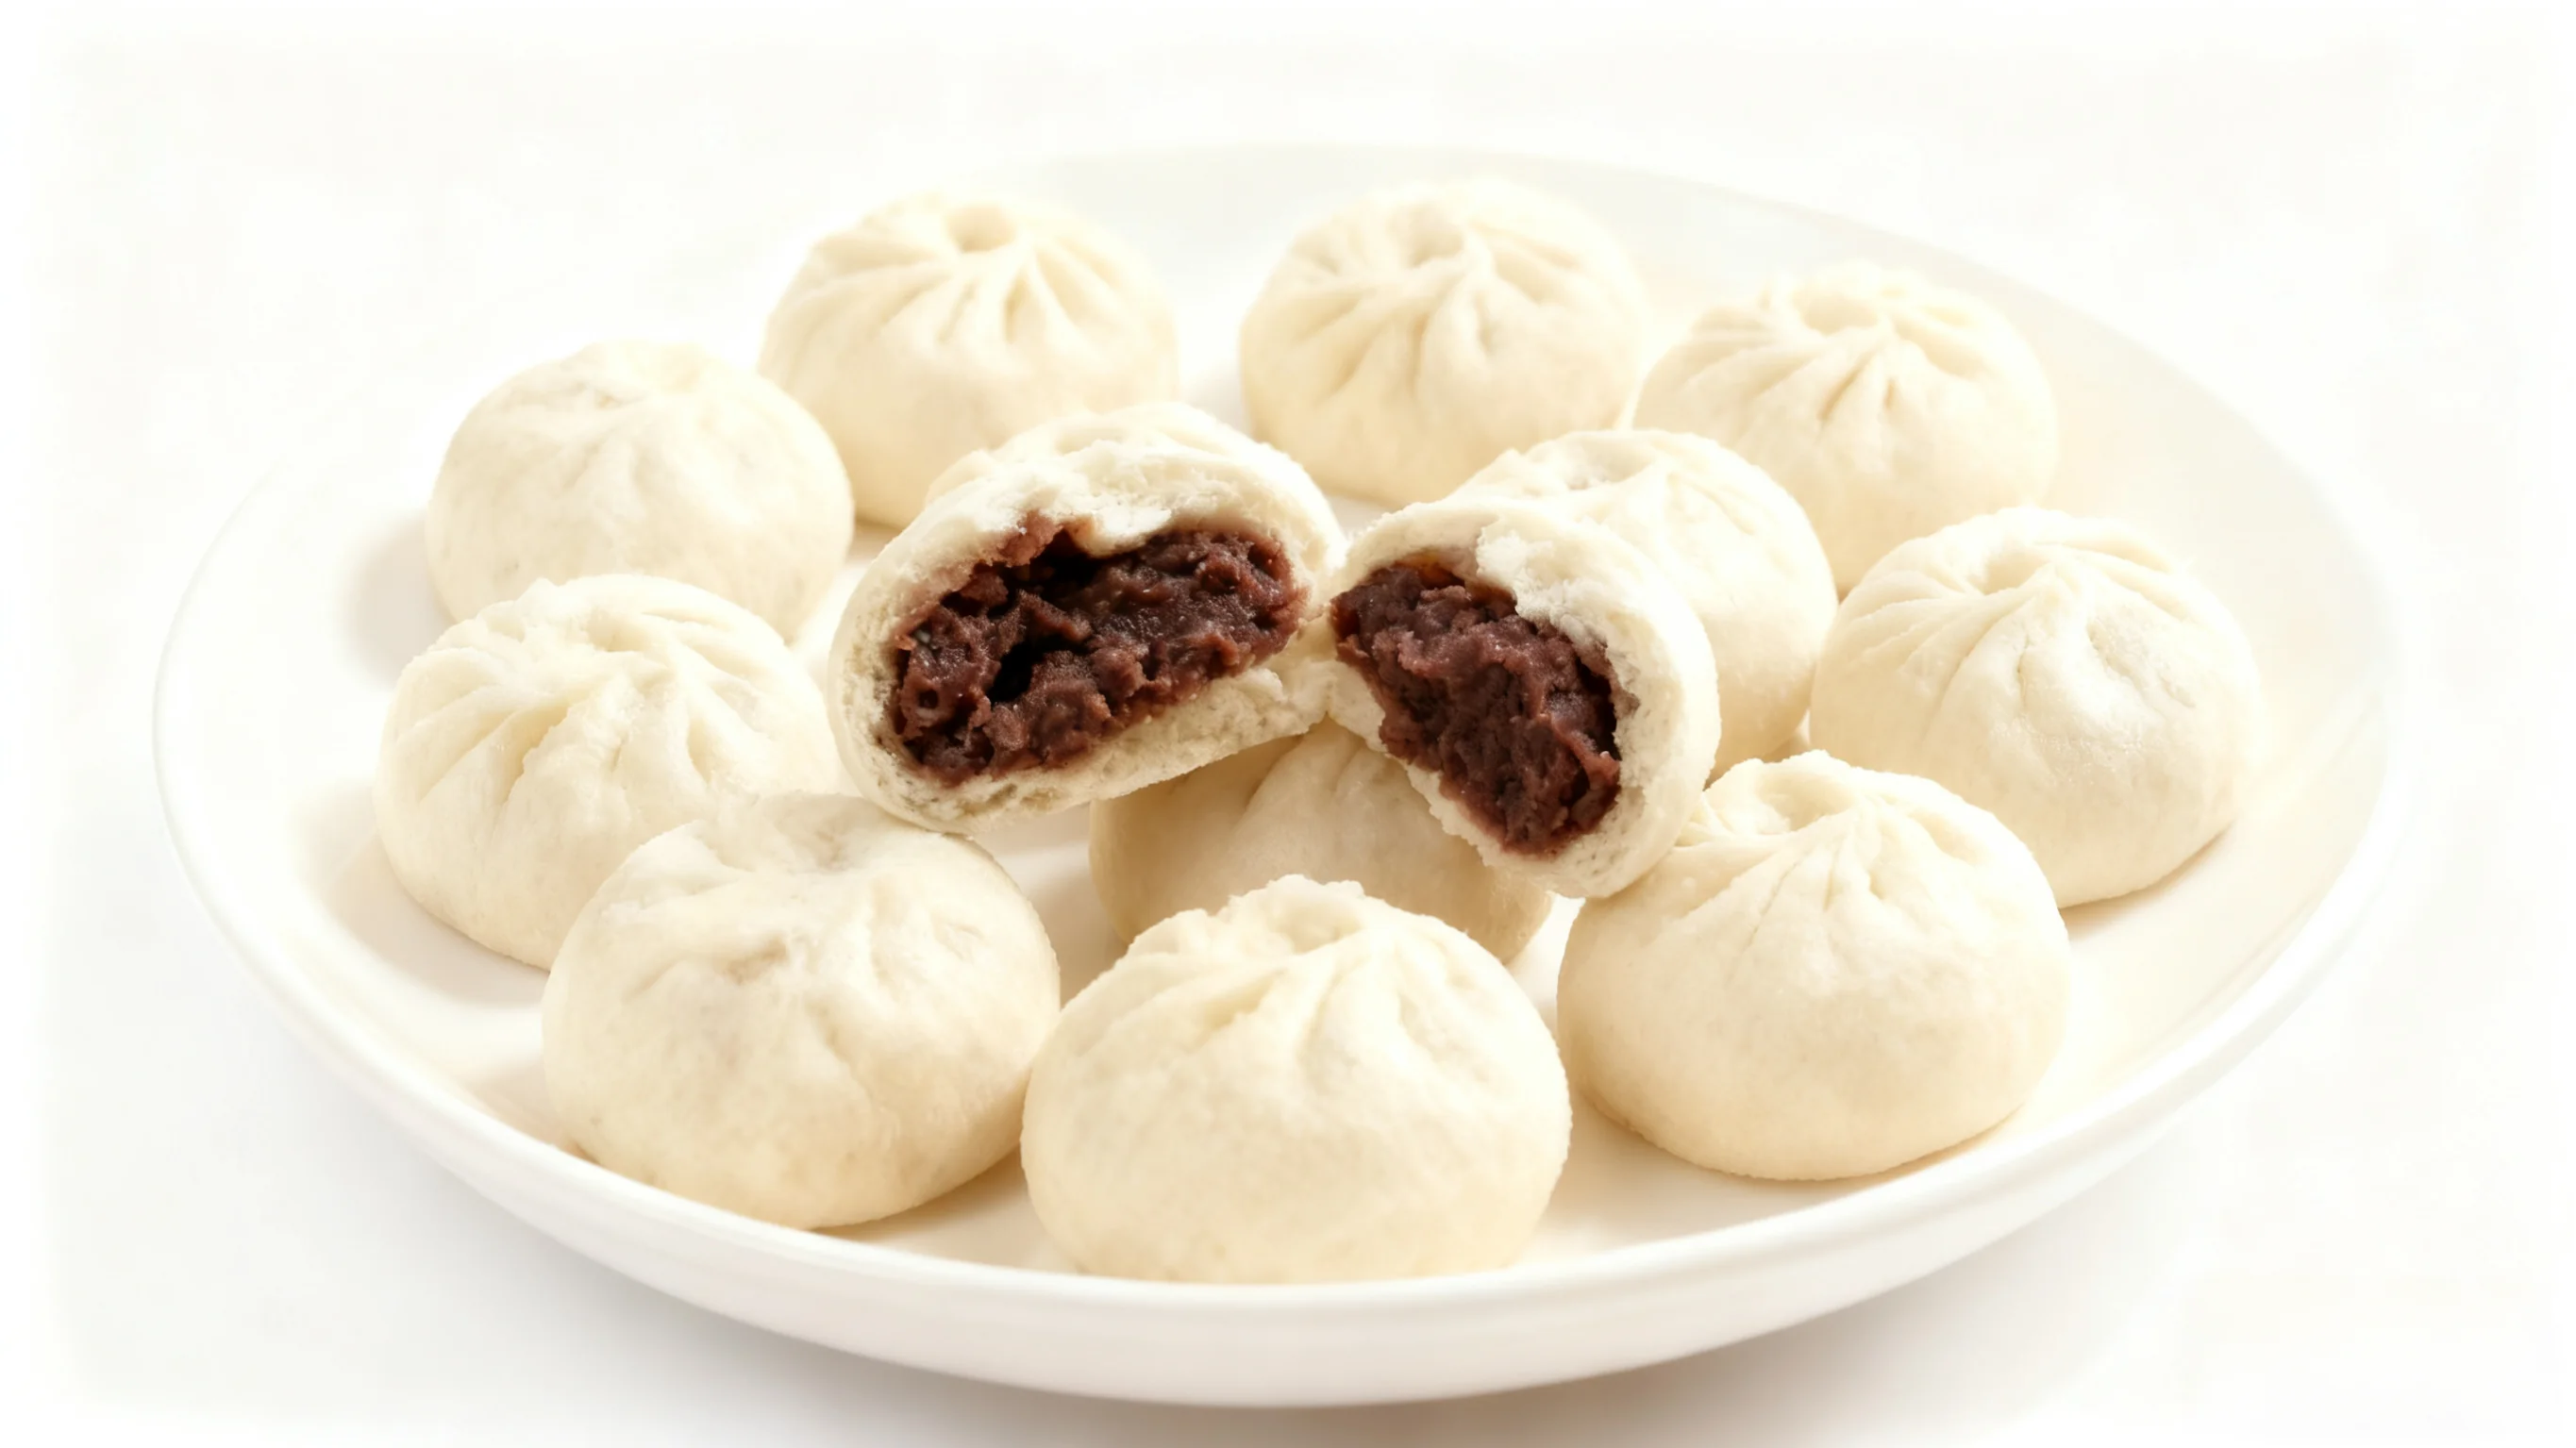 Snow-white fluffy exterior, deep red bean paste peeking through, steaming with enticing aroma!
Detailed Step-by-Step Guide
Step 1: Making Perfect Red Bean Paste (Secret #1)
- Choose quality adzuki beans, soak at least 4 hours
- Key technique: Add enough water when cooking, avoid adding water midway
- Cook until beans crush easily between fingers
- Pro tip: Keep some whole beans for texture variation
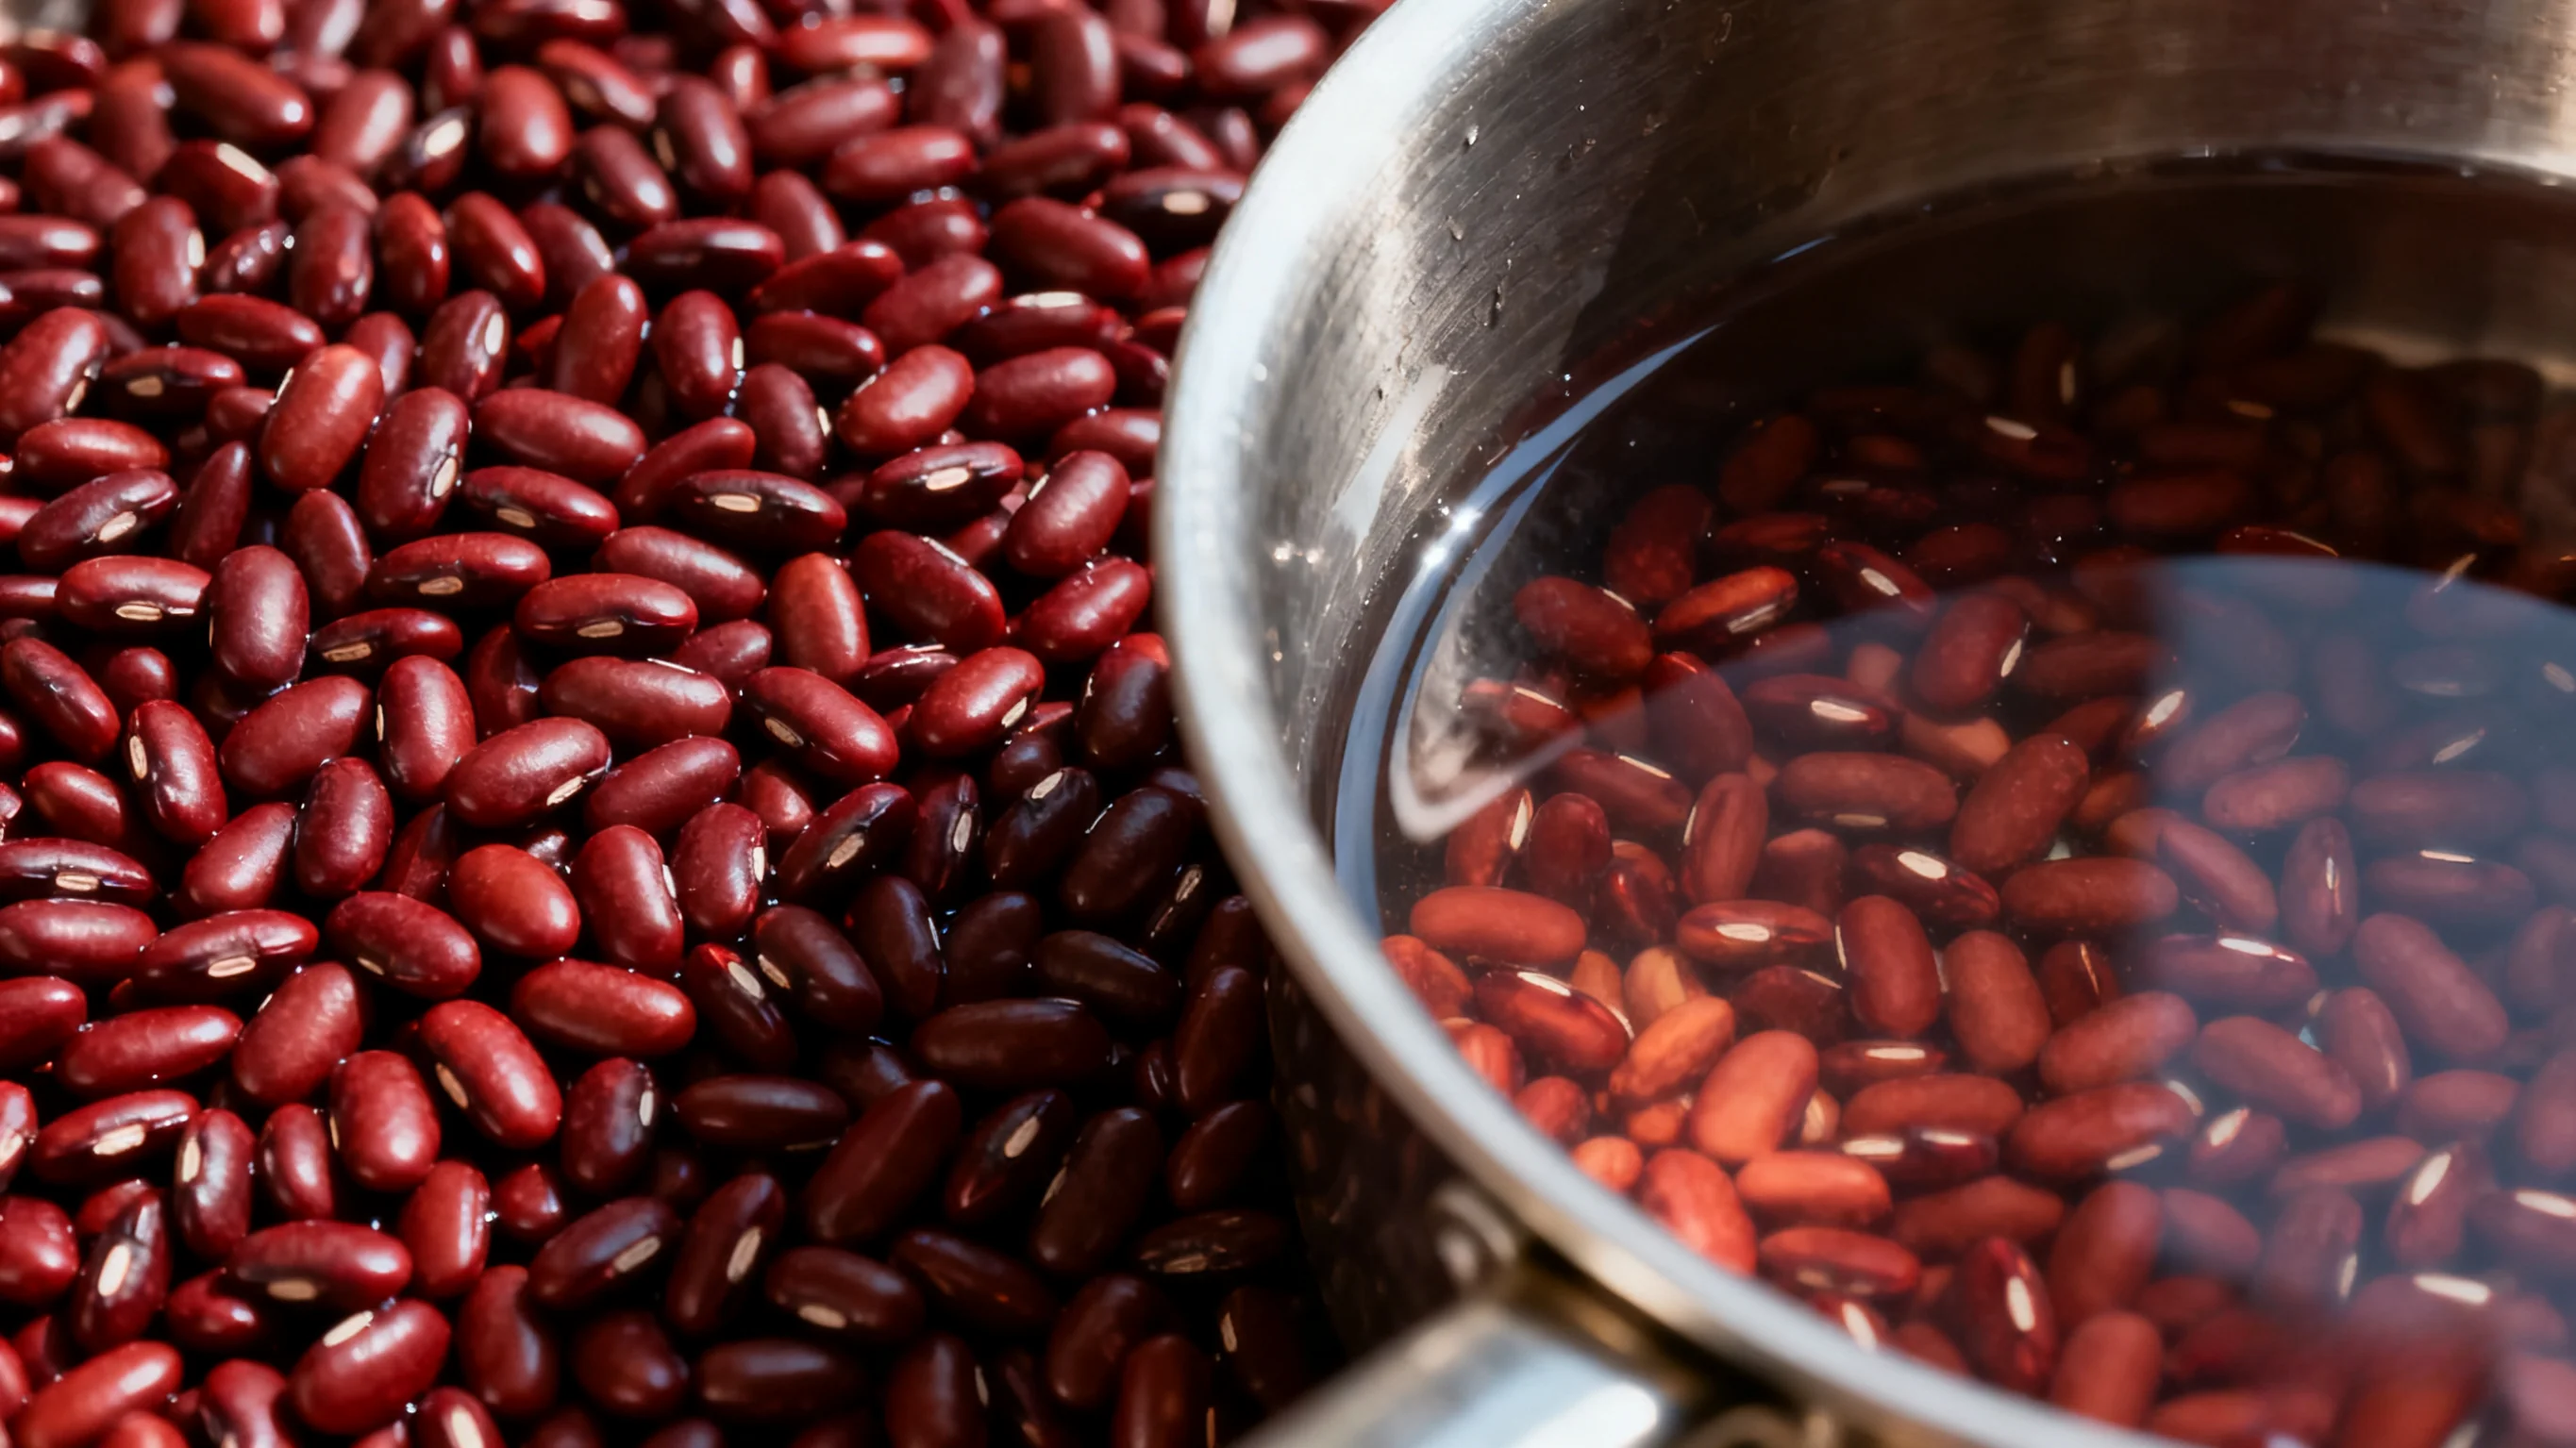
Soaked beans cook faster, enough water preserves bean flavor
Step 2: Cooking Bean Paste (Secret #2)
- Blend into smooth paste or strain to remove skins
- Golden ratio: Beans:Sugar:Oil = 10:5:3 (by weight)
- Use non-stick pan, medium-low heat, stir patiently
- Key indicator: Paste forms ball, doesn’t stick to spatula
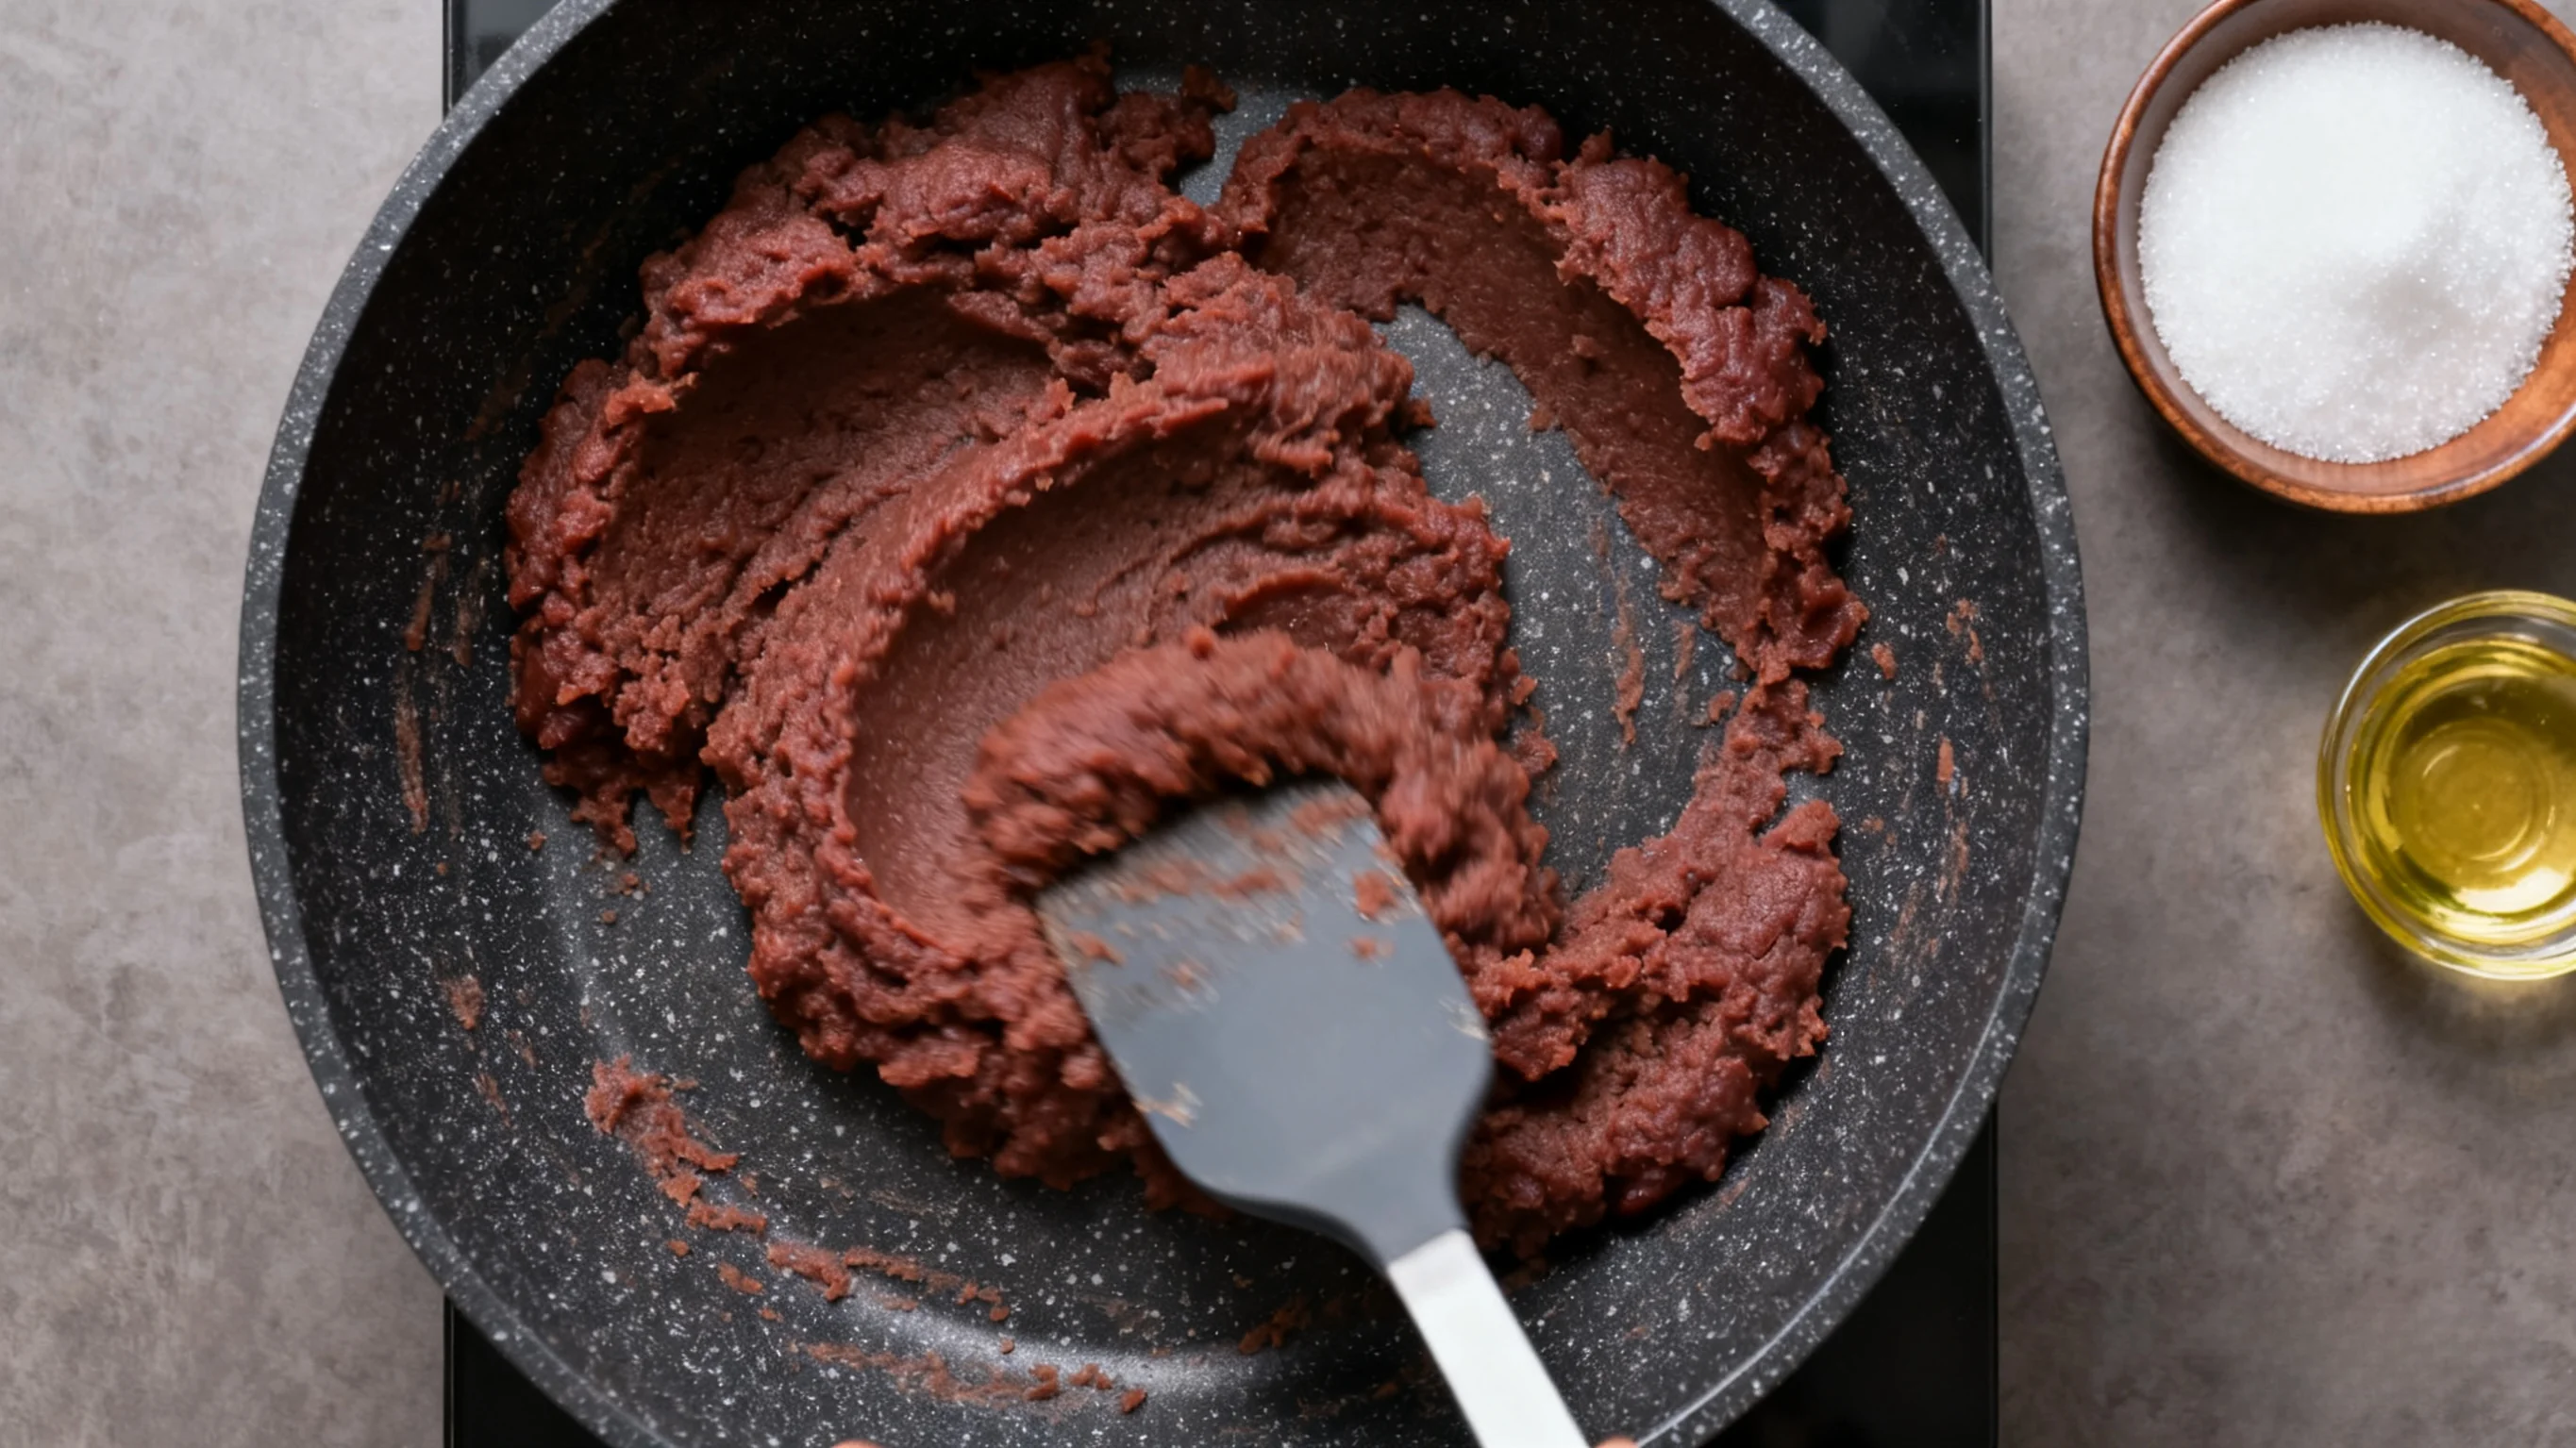 Medium-low heat evaporates moisture, oil and sugar integrate perfectly
Step 3: Dough Kneading and Proofing (Secret #3)
- Dissolve yeast and sugar in warm water, let activate 5 minutes
- Gradually pour into flour while mixing
- Knead until smooth and non-sticky
- Proofing secret: Place in warm, humid spot until doubled
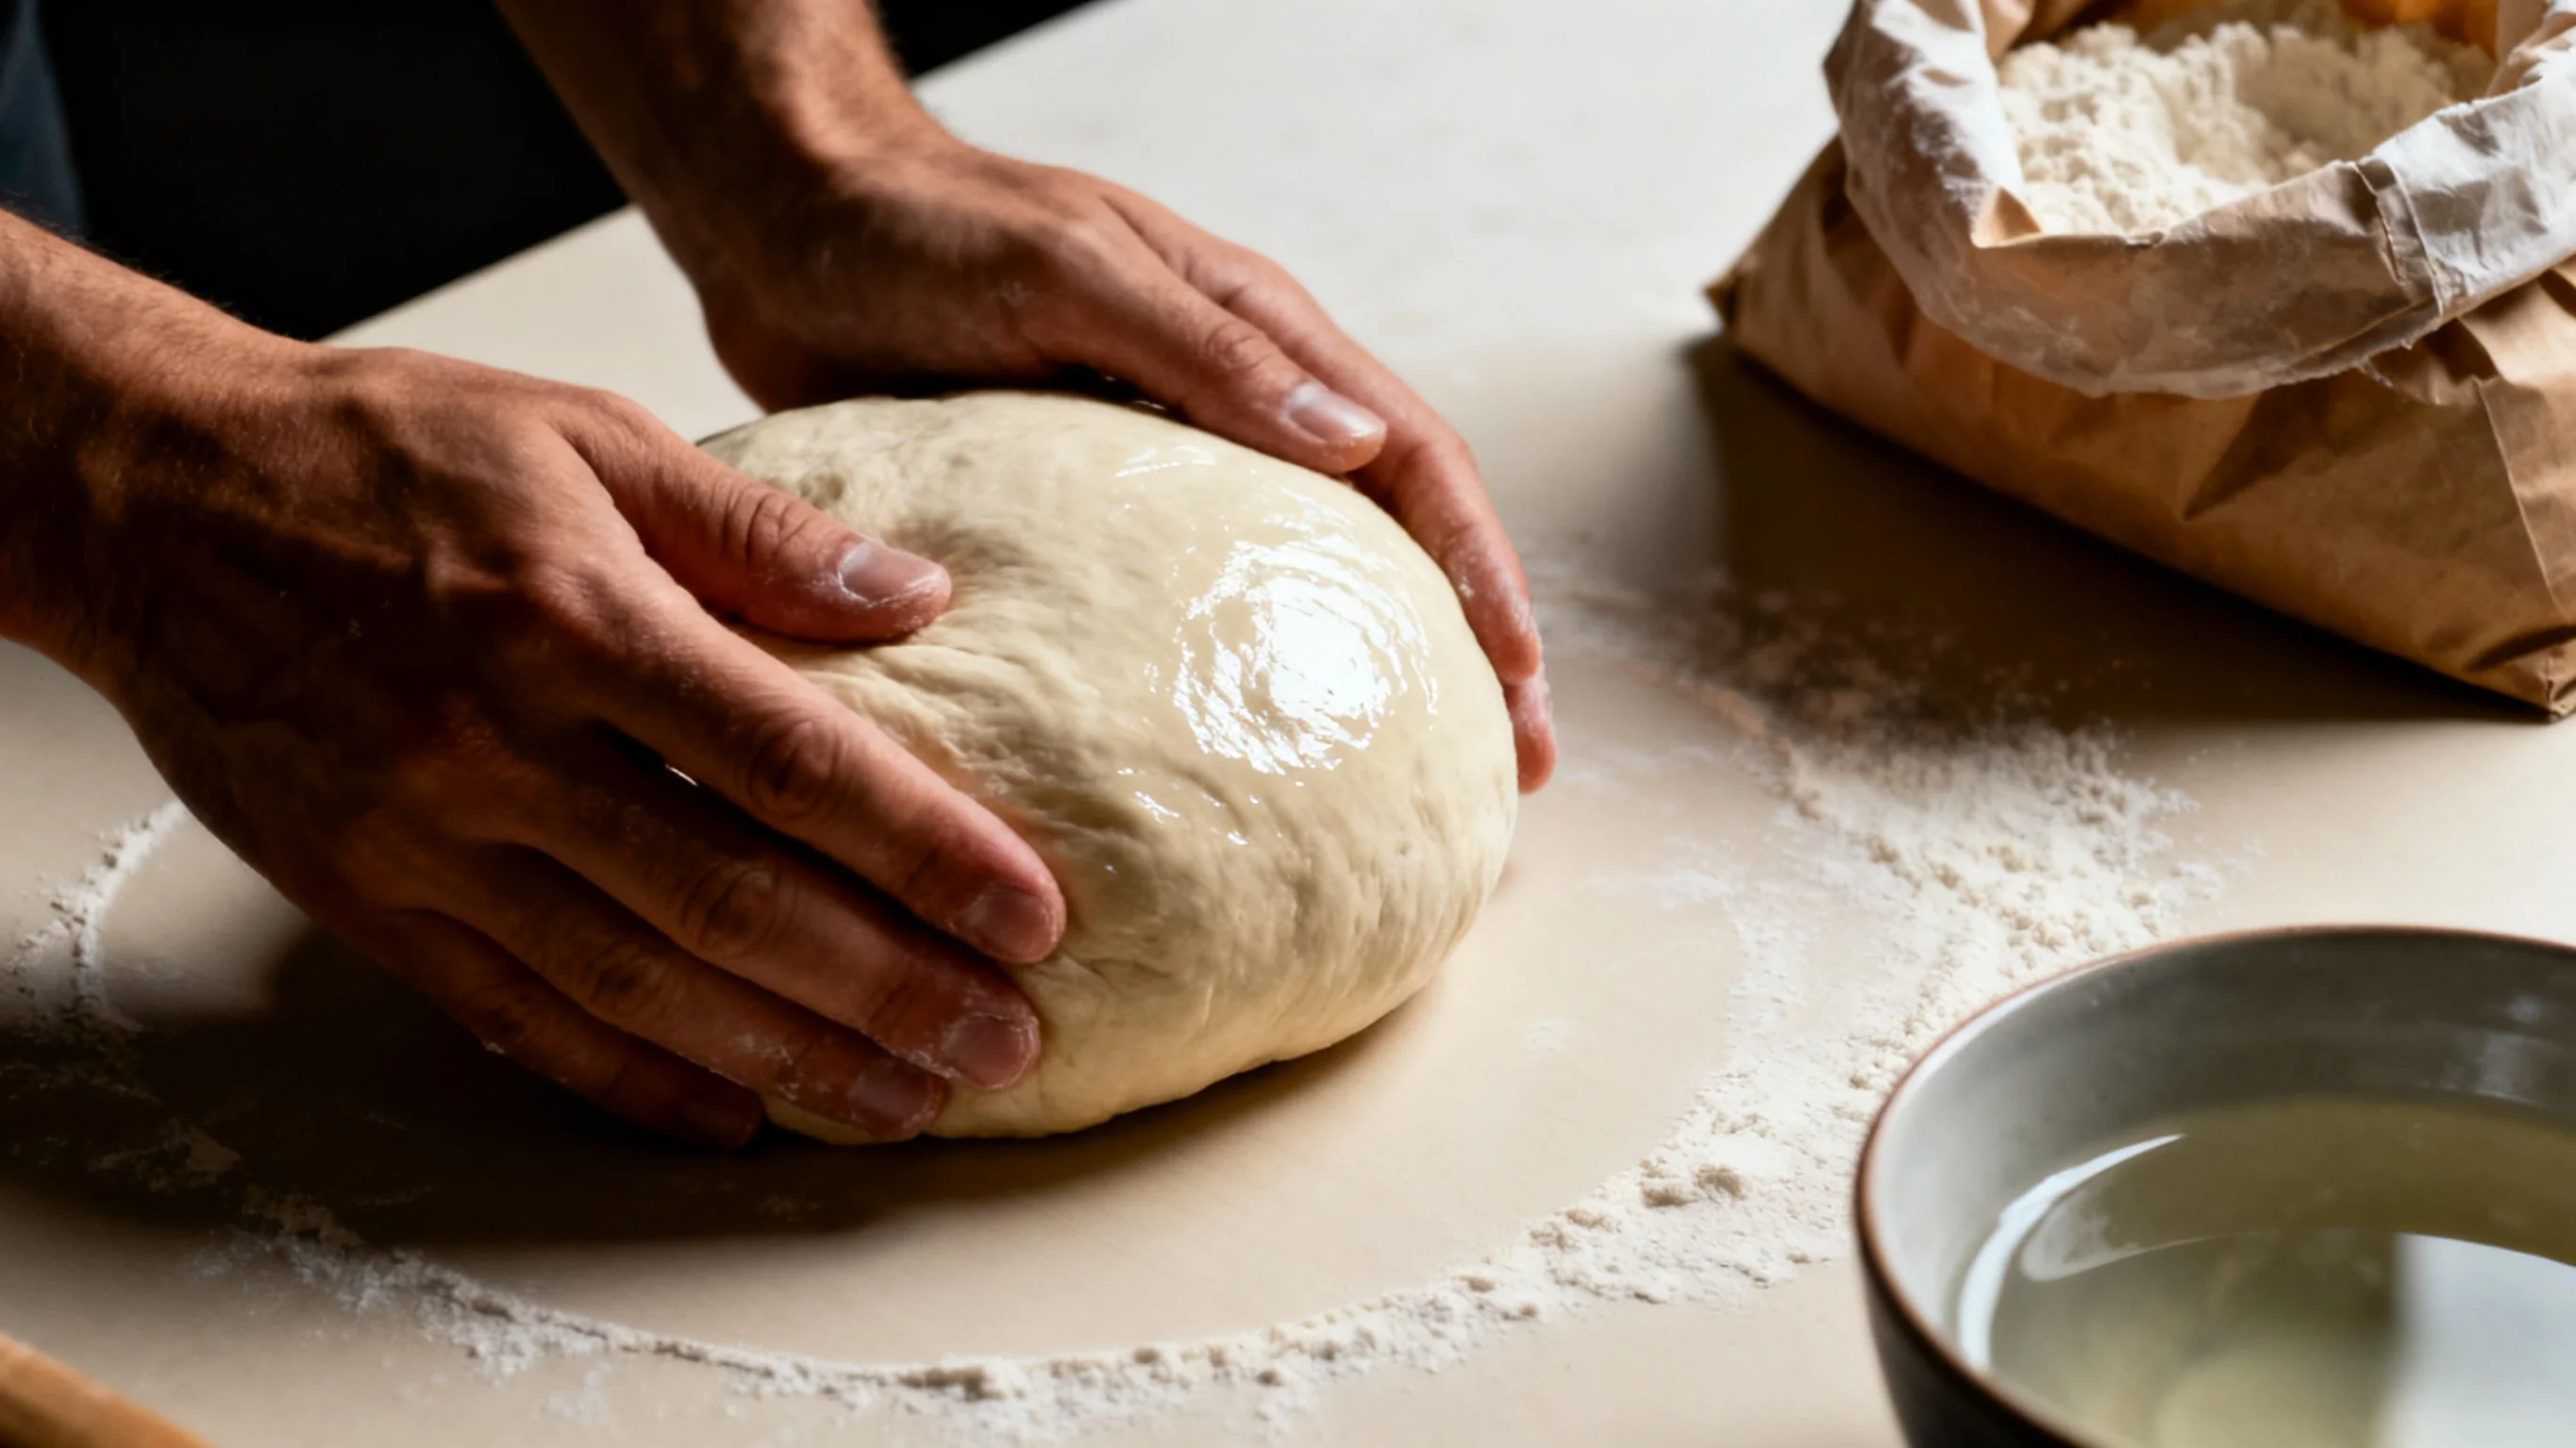 Thorough kneading develops gluten, warm environment activates yeast
Step 4: Dividing and Wrapping
- Punch down proofed dough thoroughly
- Divide into equal portions
- Roll into wrappers (thicker center, thinner edges)
- Wrap bean paste, seal tightly seam-side down
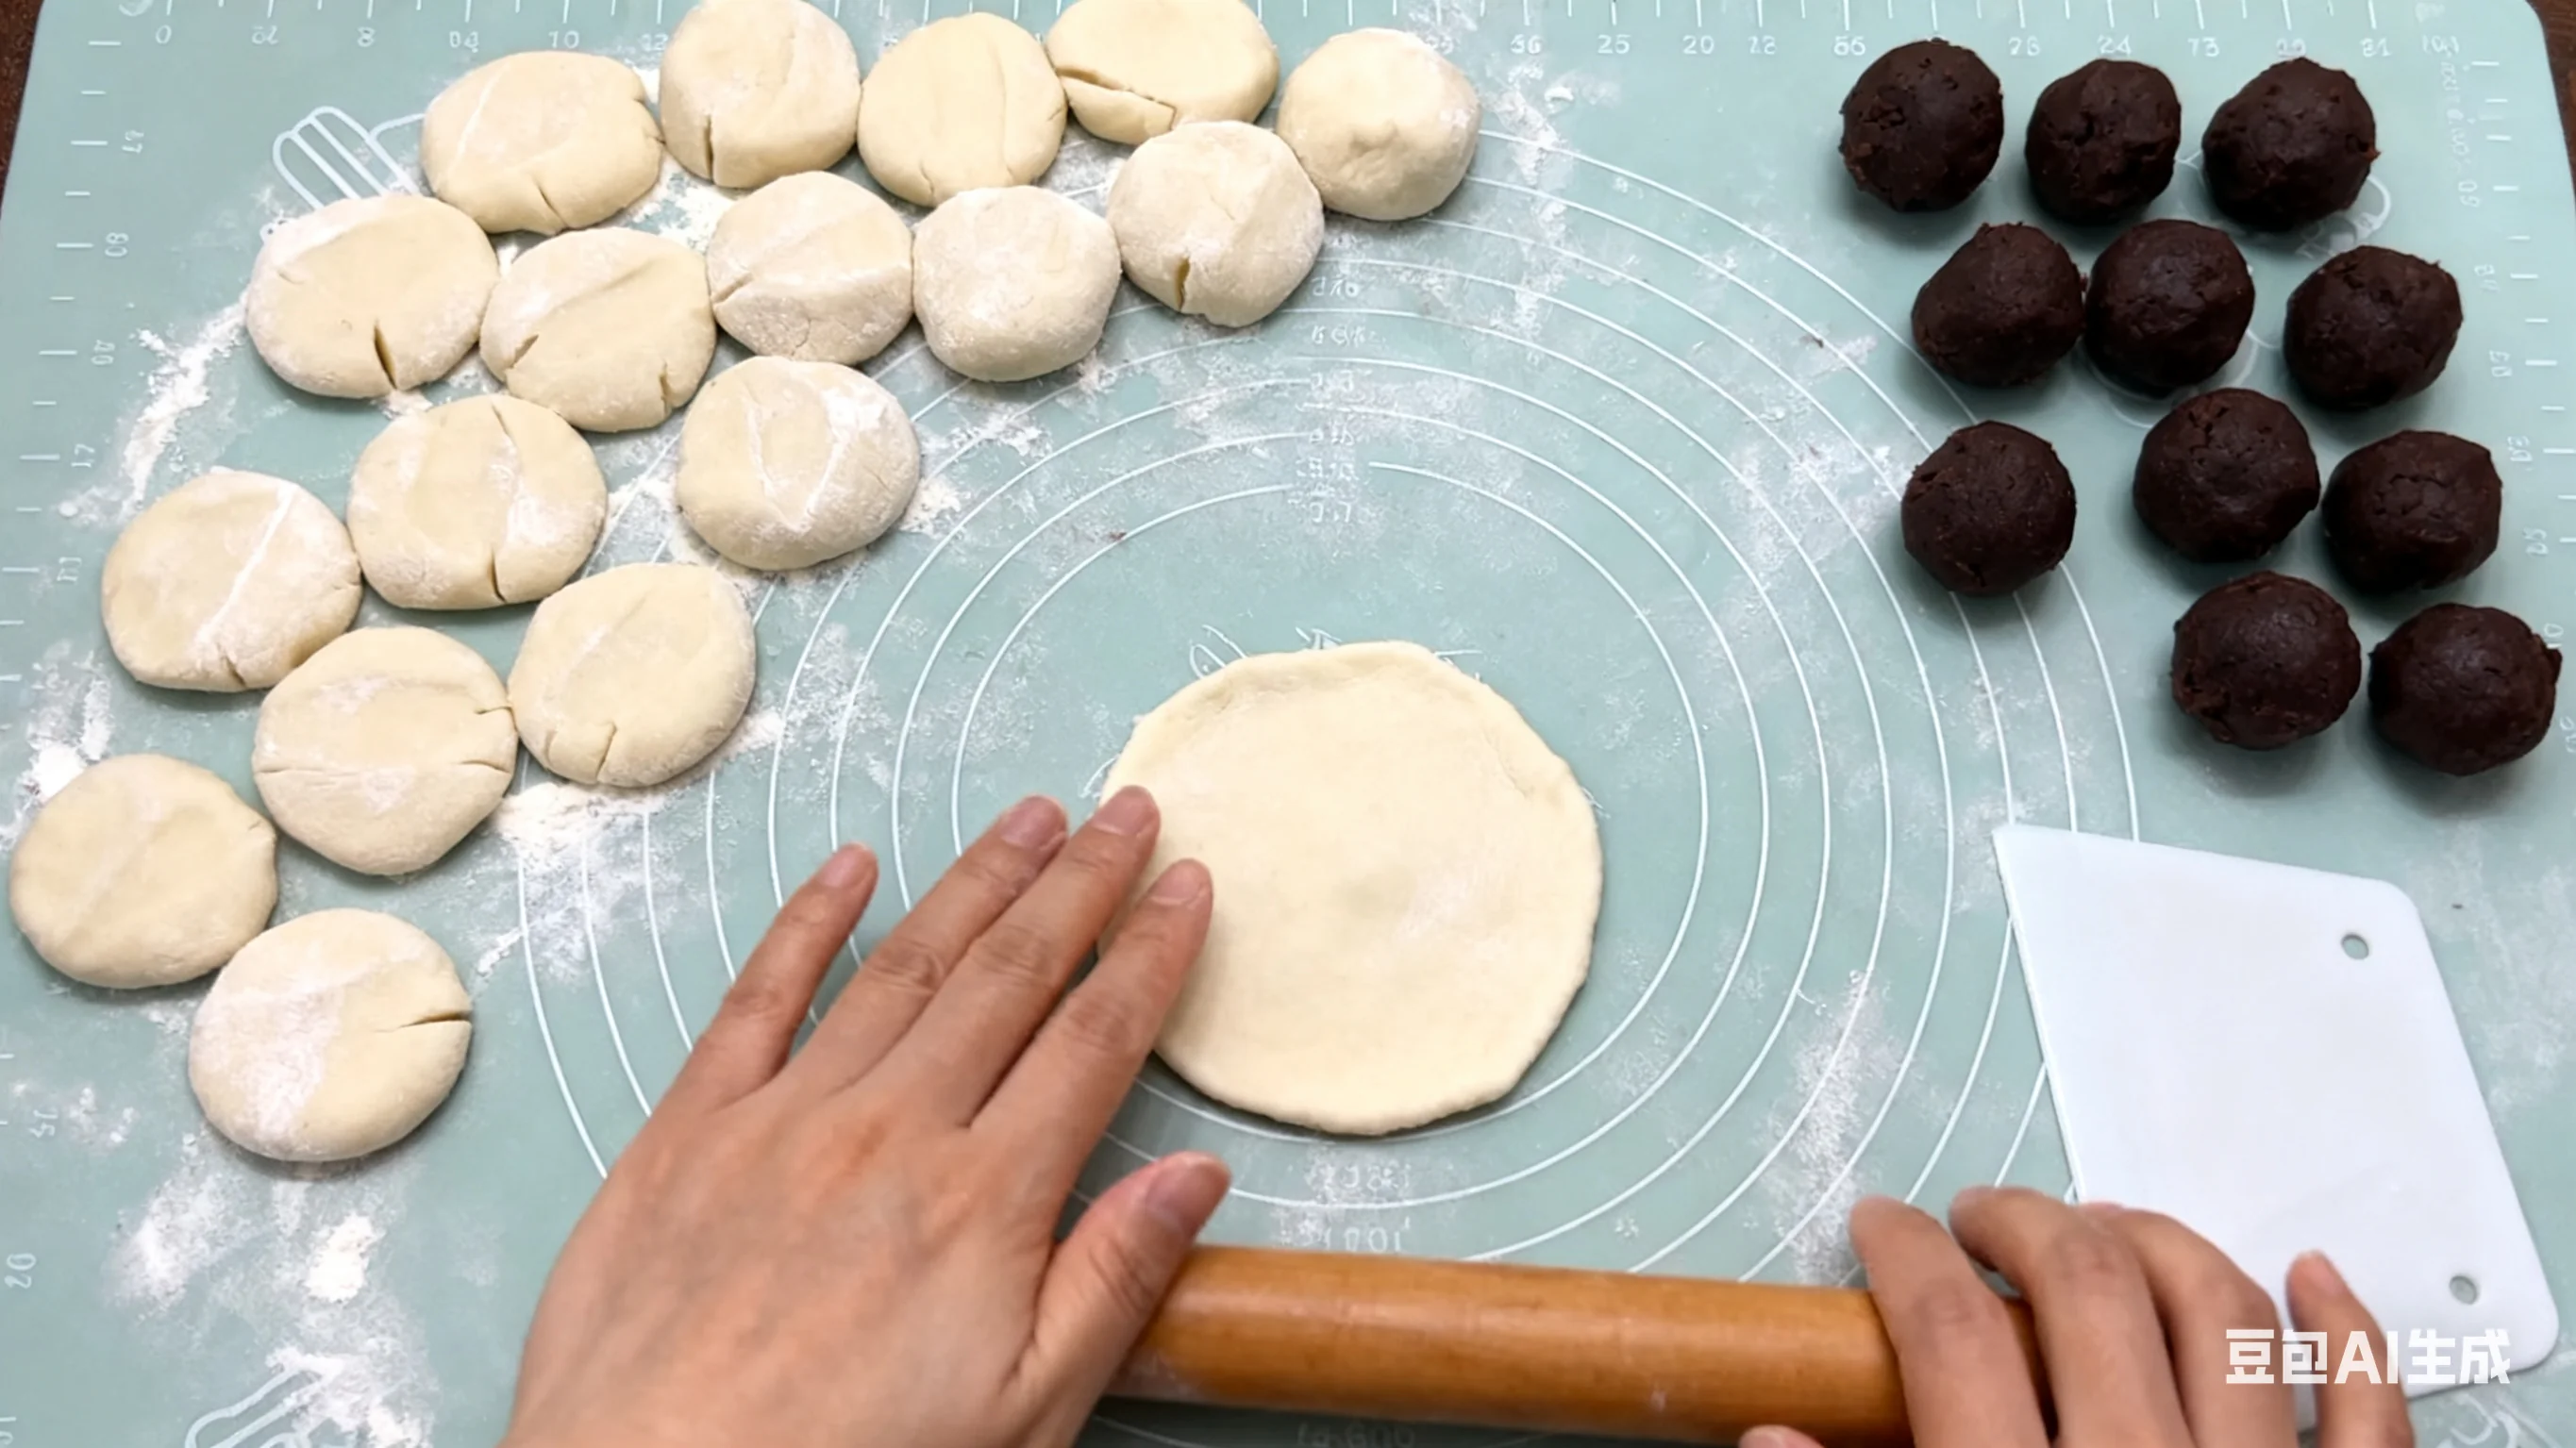 Thicker center prevents breaking, thinner edges ensure fluffy top
Step 5: Second Proofing
- Place wrapped buns in steamer
- Cover with damp cloth to prevent drying
- Proof until 1.5 times larger, slowly springs back when pressed
- Important: Under-proofed = dense, over-proofed = collapses
 Second proofing determines final fluffiness, slow spring-back is ideal
Step 6: Steaming and Resting
- Steam only after water boils
- Steam over medium-high heat 15 minutes
- Key step: Let sit 3-5 minutes after turning off heat before opening lid
- Prevents buns collapsing from sudden temperature change
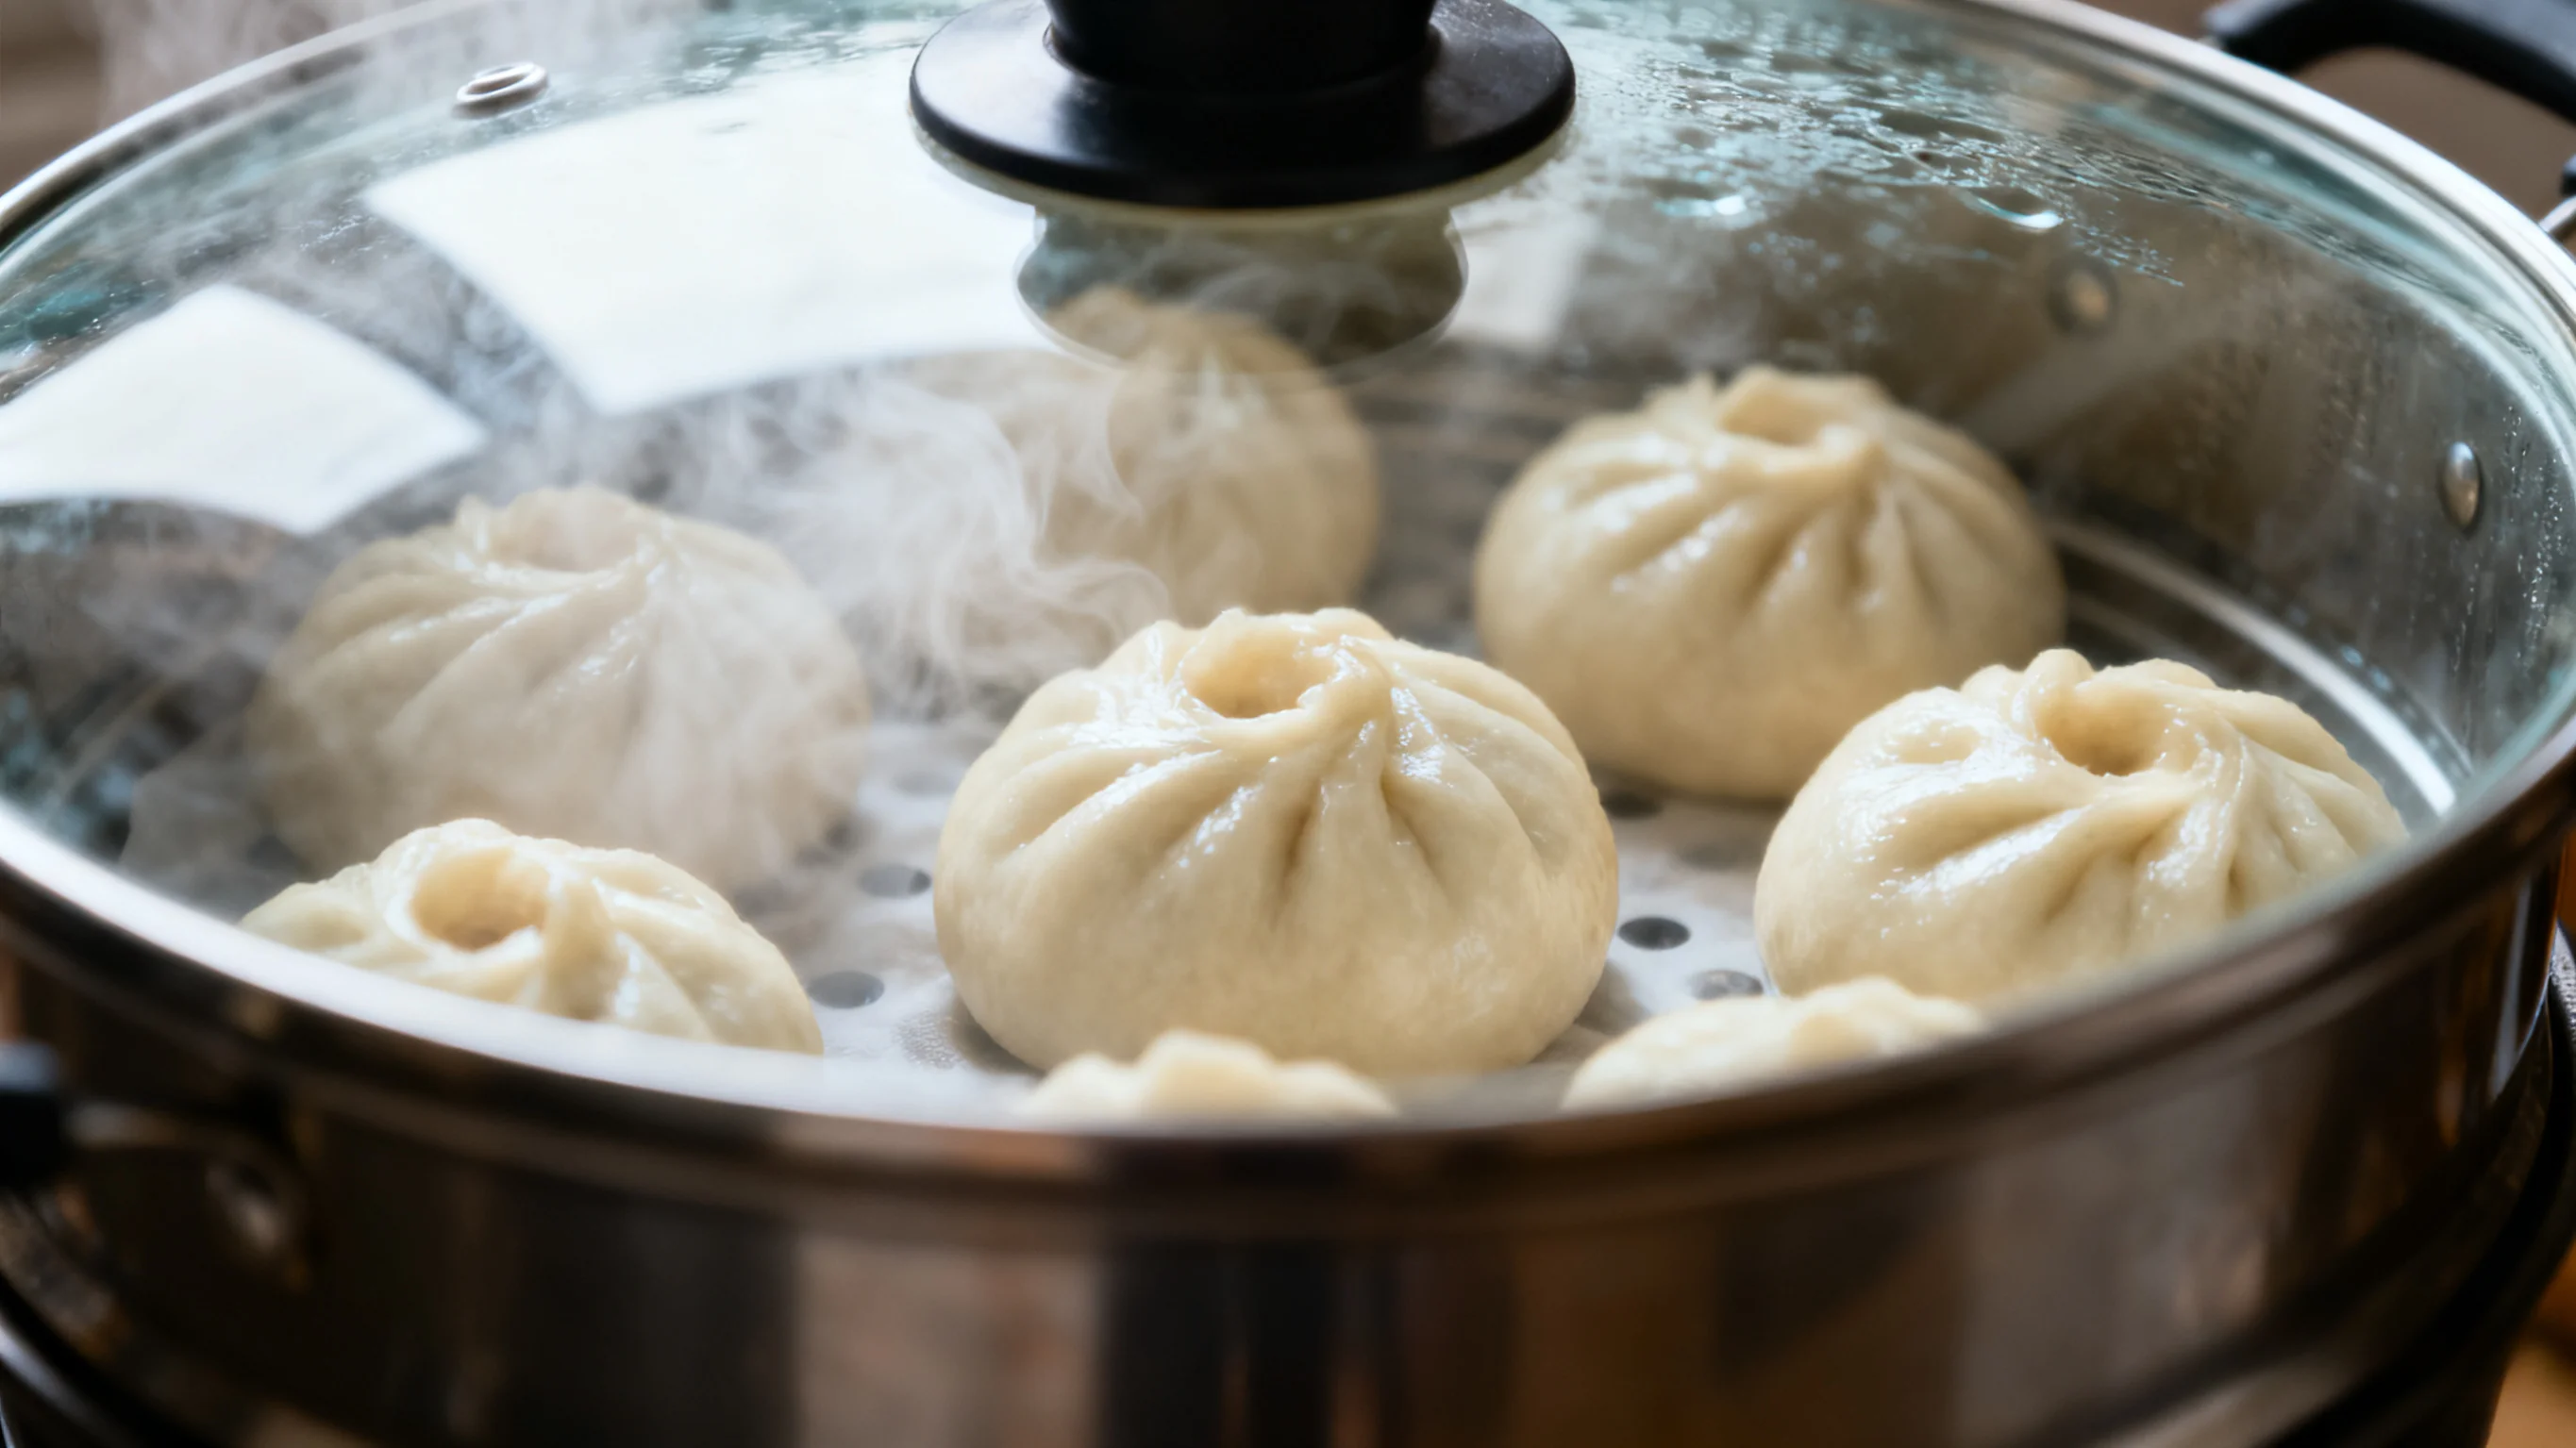 Steam heats evenly, resting allows buns to adjust to temperature
Exclusive Three Secrets
🎯 Secret #1: Bean Paste “Oil-Sugar Balance”
- Add oil/sugar in batches: Allows full absorption, prevents separation
- Keep some texture: Don’t over-blend, keep 10% whole beans for texture
- Chill to set: Chilled bean paste easier to wrap
🎯 Secret #2: Dough “Three Smooth Standards”
- Hands smooth: No dough sticking to hands
- Bowl smooth: No flour residue in bowl
- Dough smooth: Dough surface smooth and even
- Add lard: Makes bun wrapper whiter and shinier
🎯 Secret #3: Proofing “Look-Touch-Listen” Method
- Look at volume: Doubled in size
- Touch texture: Slowly springs back when pressed
- Listen to sound: Hollow sound when tapped
- Honeycomb structure: Even air pockets when torn open
Advanced Techniques
🌟 Bean Paste Variations:
- Low-sugar version: Reduce sugar, add honey or sweetener
- Citrus version: Add dried tangerine peel for unique aroma
- Osmanthus version: Mix in osmanthus sugar for floral notes
- Coconut version: Add coconut milk or desiccated coconut
🌟 Bun Wrapper Innovations:
- Whole wheat version: Substitute 30% with whole wheat flour
- Pumpkin version: Add pumpkin puree for natural gold color
- Purple sweet potato: Add purple sweet potato for dreamy purple
- Milky version: Use milk instead of water for rich dairy flavor
🌟 Shape Variations:
- Traditional round: Simple and classic
- Decorative braid: Braided into decorative shapes
- Open-top: Leave top open to show filling
- Animal shapes: Cute shapes like pigs or rabbits
FAQ
Q: Why did my buns collapse after steaming? A: Possible reasons: ① Over-proofed ② Opened lid during steaming ③ Didn’t rest before opening lid
Q: How long can bean paste be stored? A: Cooked bean paste refrigerates 5 days, freezes 1 month.
Q: Can I use pressure cooker for beans? A: Yes, saves time significantly. Use 1/3 less water than regular pot.
Q: How to proof faster in winter? A: Methods: ① Oven proofing function ② Turn off heat after boiling water in steamer, place dough inside ③ Place near microwave with hot water
Nutritional Value
- ✅ Quality carbs: Flour provides energy
- ✅ Plant protein: Red beans rich in protein
- ✅ Dietary fiber: Promotes gut health
- ✅ Iron: Red beans support blood health
- ✅ Vitamin B: Proofing produces B vitamins
Serving Suggestions
- 🍵 With pu-erh tea: Aids digestion and cuts sweetness
- 🥛 With soy milk: Classic breakfast combo
- 🍶 With congee: Perfect Chinese breakfast
- ☕ With black tea: English afternoon tea style
- 🥣 With sweet soup: Like fermented rice balls, double sweetness
Red bean buns aren’t just food—they’re childhood memories and hometown flavors for many. From soaking beans to steaming buns, each step requires patience and love. Remember: Good bean paste + good dough + patience = Perfect red bean buns!
Total Time: About 3 hours (including proofing)
Difficulty Level: ★★☆☆☆ (Some pastry experience helpful)
Success Rate: 85% following tips
Best Served: Freshly steamed, or re-steamed
Pro Tip: When wrapping, lightly oil or flour your palms to prevent bean paste sticking—makes wrapping much easier!