Crispy and Juicy Homemade Spring Rolls: Secrets to Perfect Texture
Hello everyone! I’m Xiao Mi Zhou,today I’m sharing my family’s homemade spring rolls recipe. These spring rolls feature golden crispy skin and delicious juicy fillings - that satisfying “crunch” sound with every bite brings pure happiness! The key lies in a few techniques that I’ll share with you step by step.
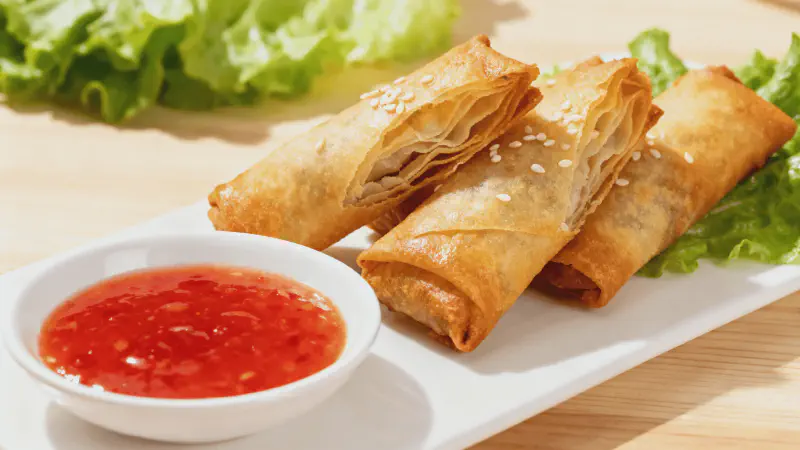
First, admire the finished product - you can almost hear the crispiness!
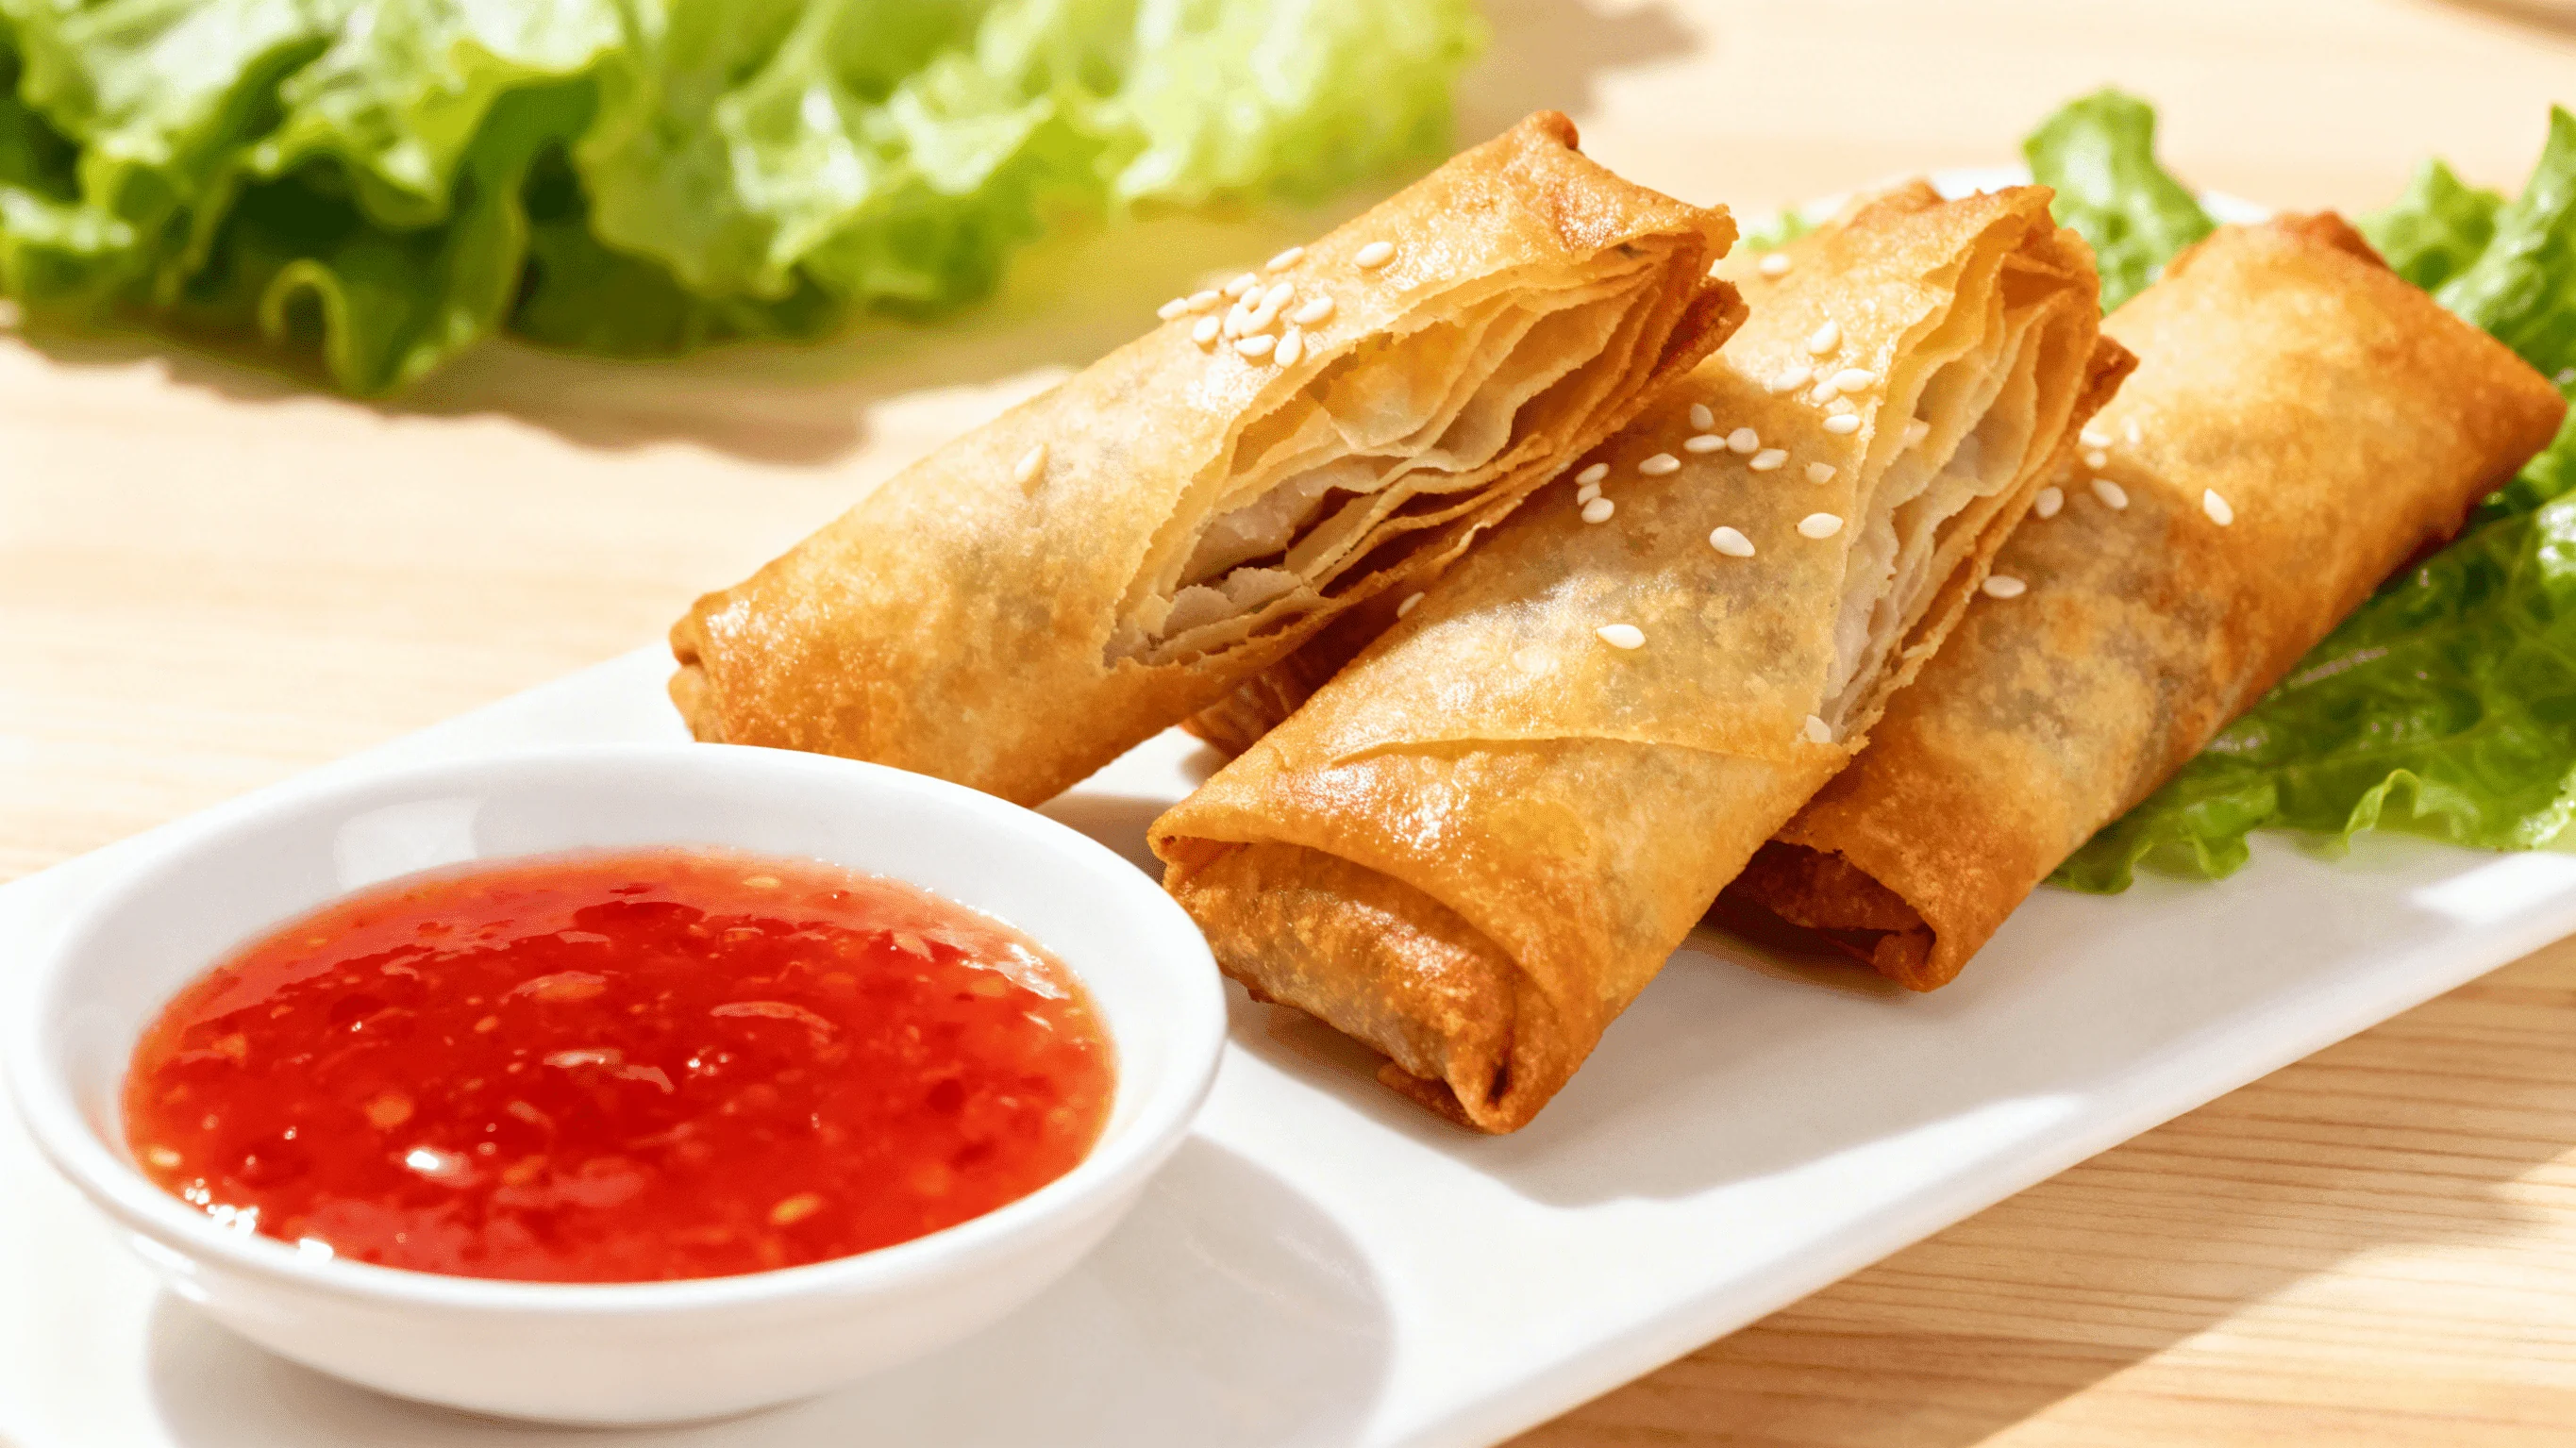
The golden crispy skin is already mouthwatering!
Ingredients (Makes about 20 rolls)
Spring Roll Wrappers:
- All-purpose flour: 250g
- Warm water: about 150ml
- Salt: 3g
- Cooking oil: 15g
Fillings:
- Ground pork: 200g (30% fat, 70% lean)
- Fresh shrimp: 150g, diced
- Cabbage: 200g, julienned
- Carrot: 1, julienned
- Shiitake mushrooms: 5 pieces, soaked and julienned
- Bean sprouts: 100g
- Chinese chives: 50g, cut into sections
Seasonings:
- Light soy sauce: 2 tablespoons
- Oyster sauce: 1 tablespoon
- Cooking wine: 1 tablespoon
- Sugar: 1 teaspoon
- White pepper: to taste
- Sesame oil: 1 tablespoon
- Minced ginger: 1 tablespoon
Detailed Steps
Step 1: Make Spring Roll Wrappers (Optional - time-saving version available)
- Mix flour with salt, gradually add warm water to form dough
- Add cooking oil, knead until smooth
- Cover with damp cloth, rest for 30 minutes
- Divide into small portions, roll into thin circles
Tip: You can also buy ready-made spring roll wrappers
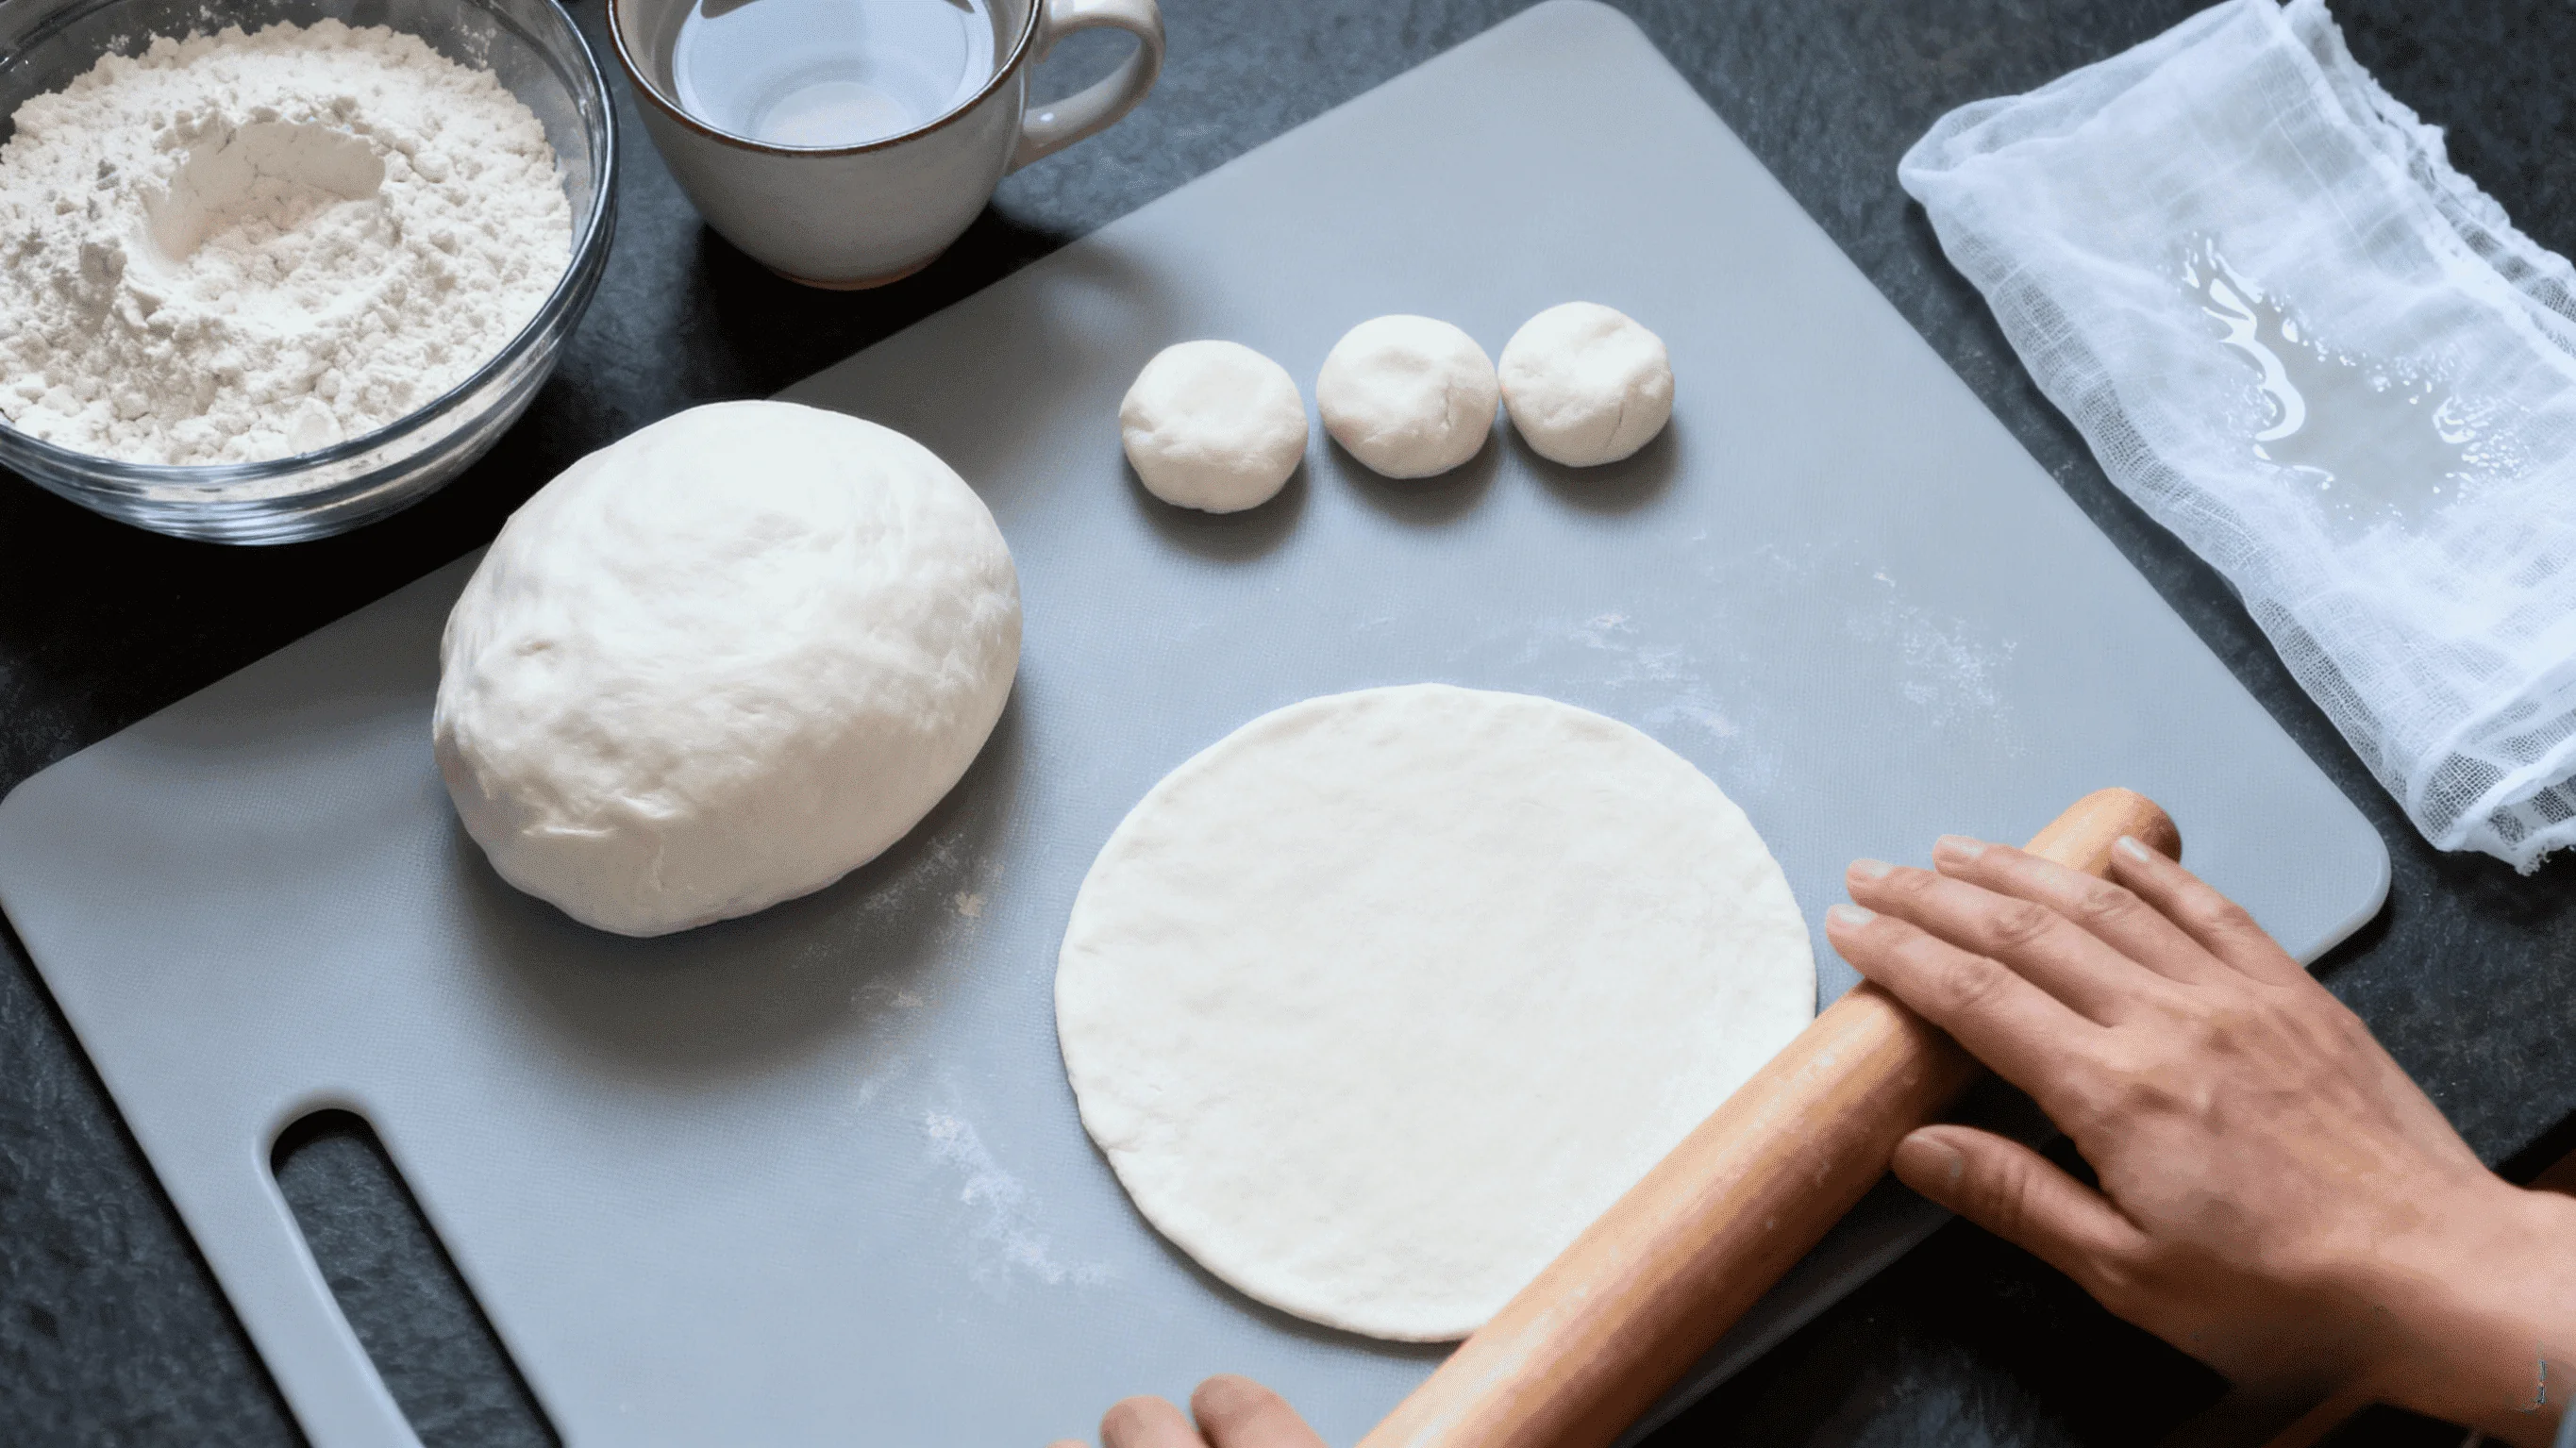 Homemade wrappers are more flexible and chewy
Step 2: Prepare Fillings
- Marinate ground pork with cooking wine and soy sauce for 10 minutes
- Heat oil, sauté minced ginger and ground pork until fragrant
- Add shrimp and cook until color changes
- Add carrot, mushrooms, cabbage in order
- Finally add bean sprouts and chives
- Add all seasonings, mix well and drizzle with sesame oil
- Important: Fillings must be completely cooled before wrapping
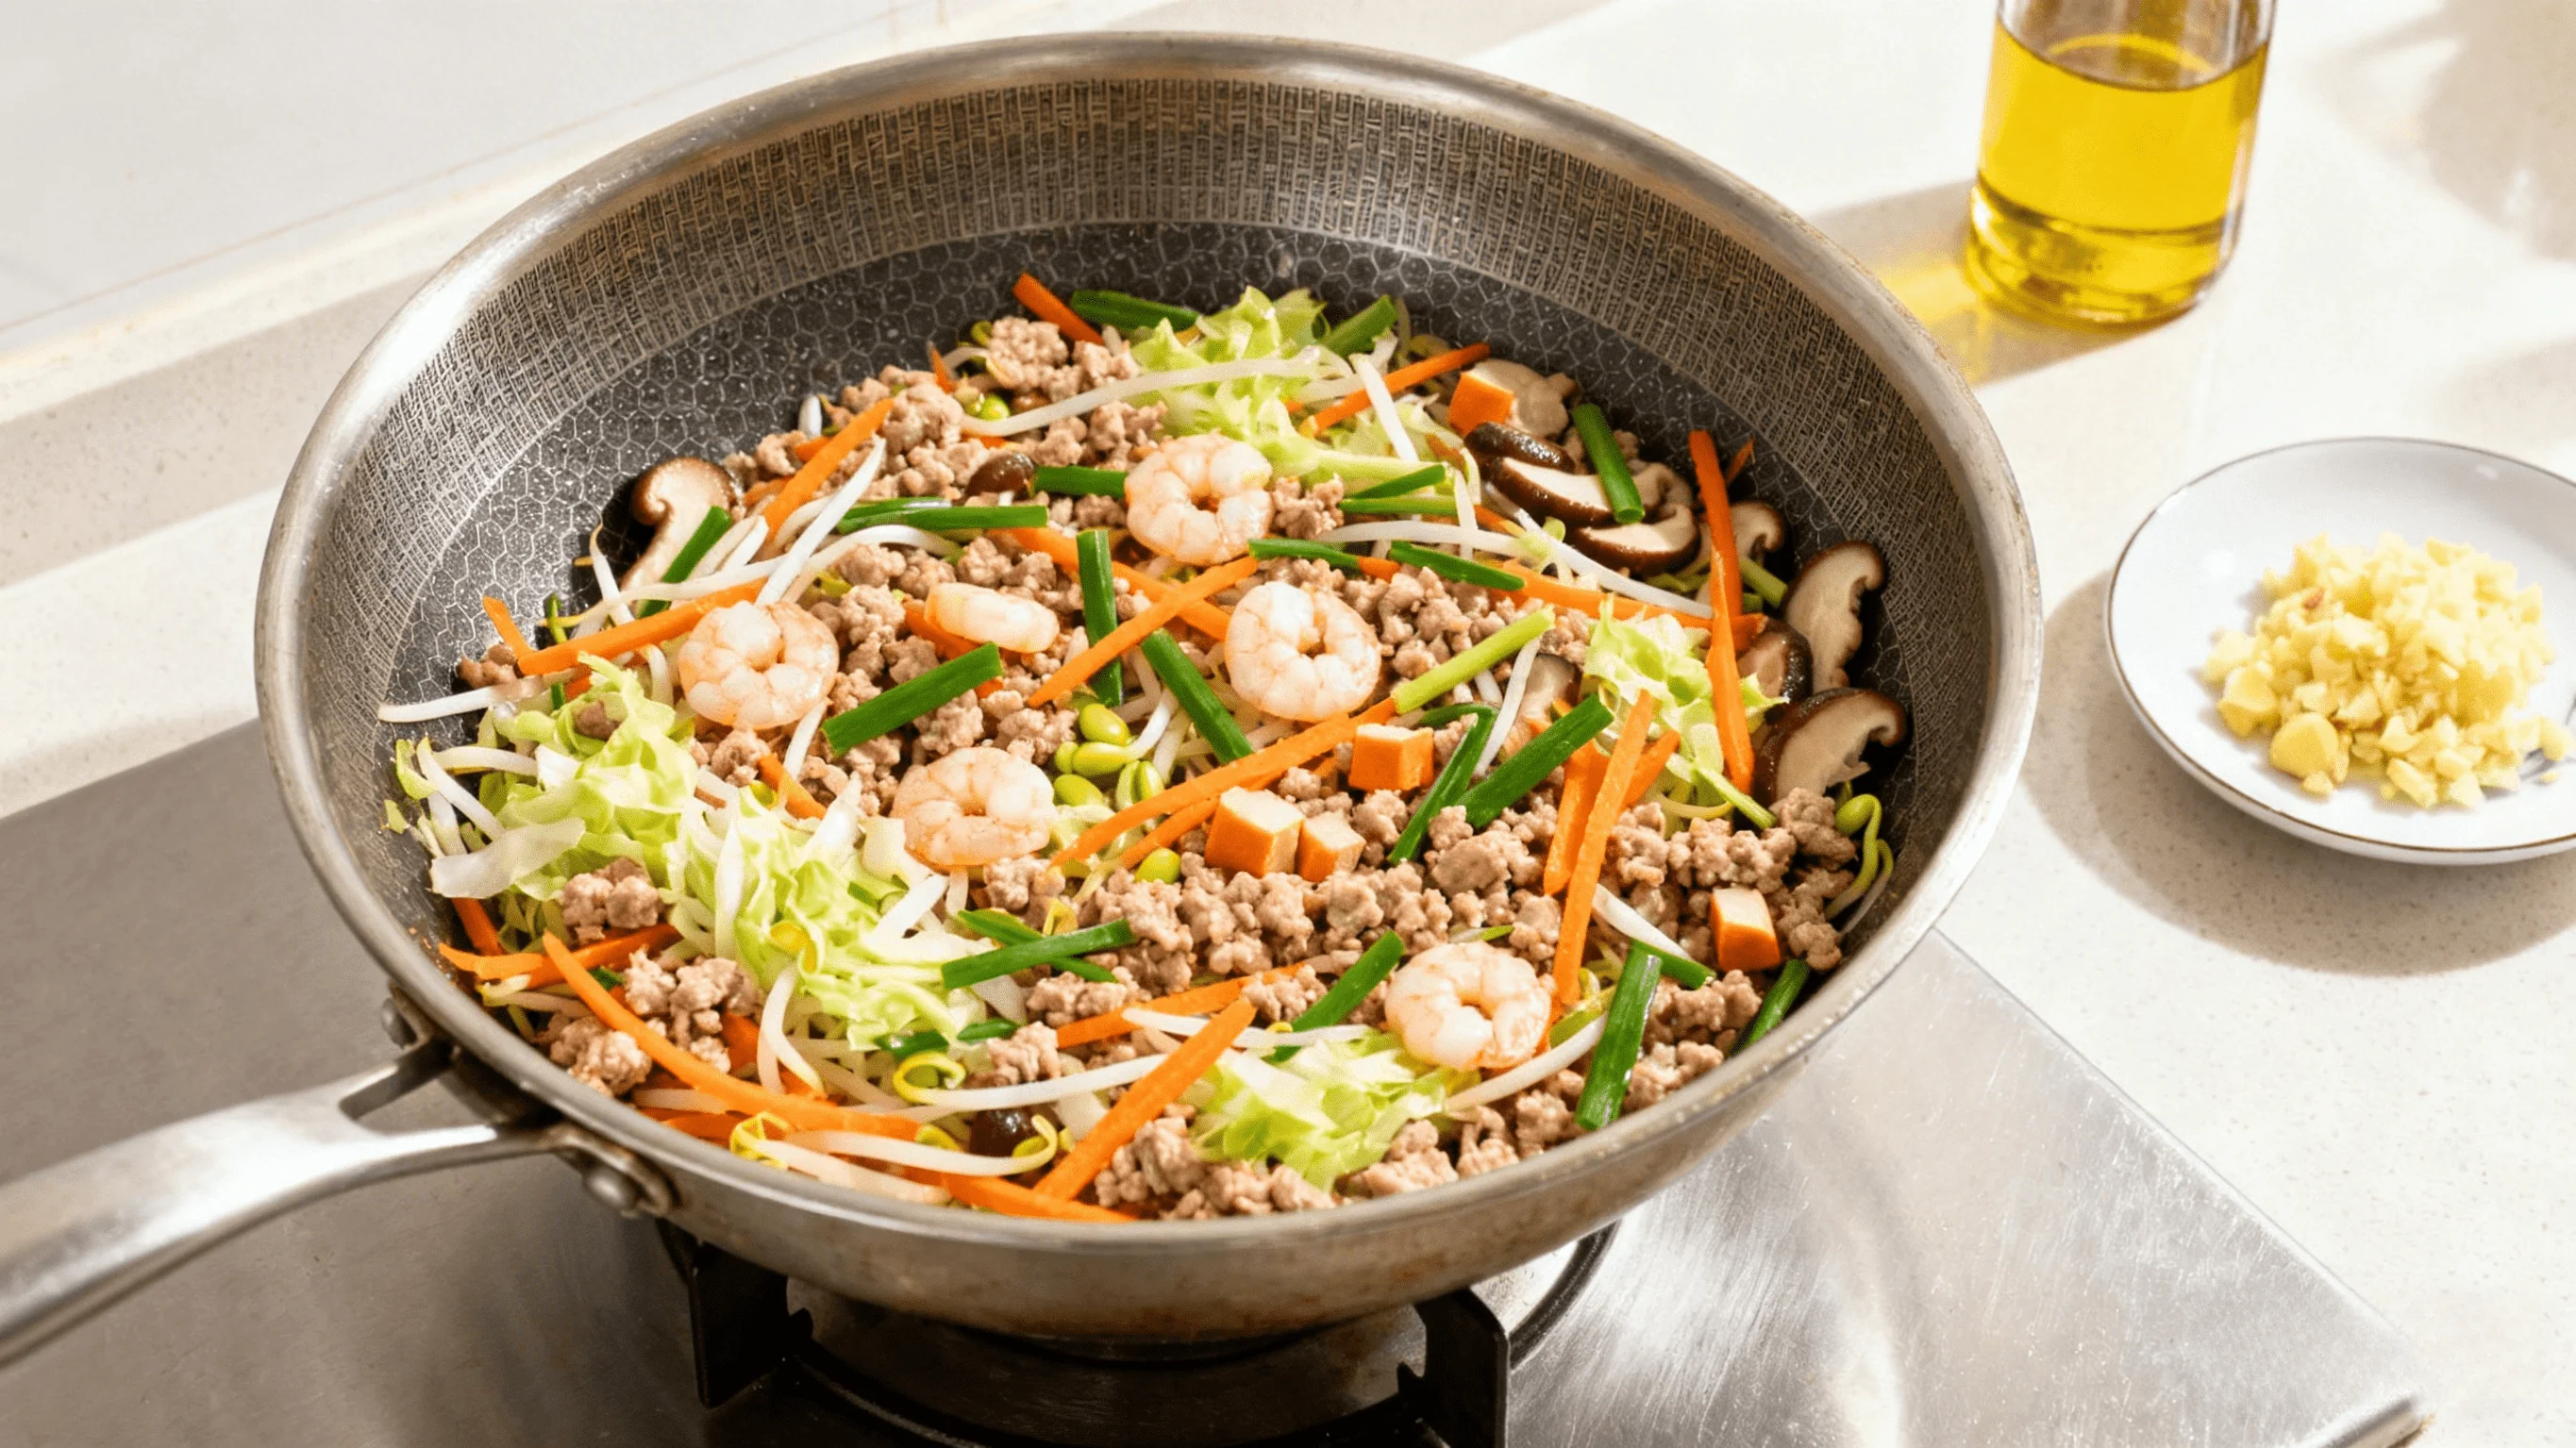 Colorful fillings are key to deliciousness
Step 3: Wrapping Techniques
- Take one wrapper, place appropriate amount of filling
- Fold the bottom part up to cover the filling
- Fold left and right sides toward center
- Brush flour water (flour + water) on the top edge
- Roll up tightly from bottom, press to seal the edge
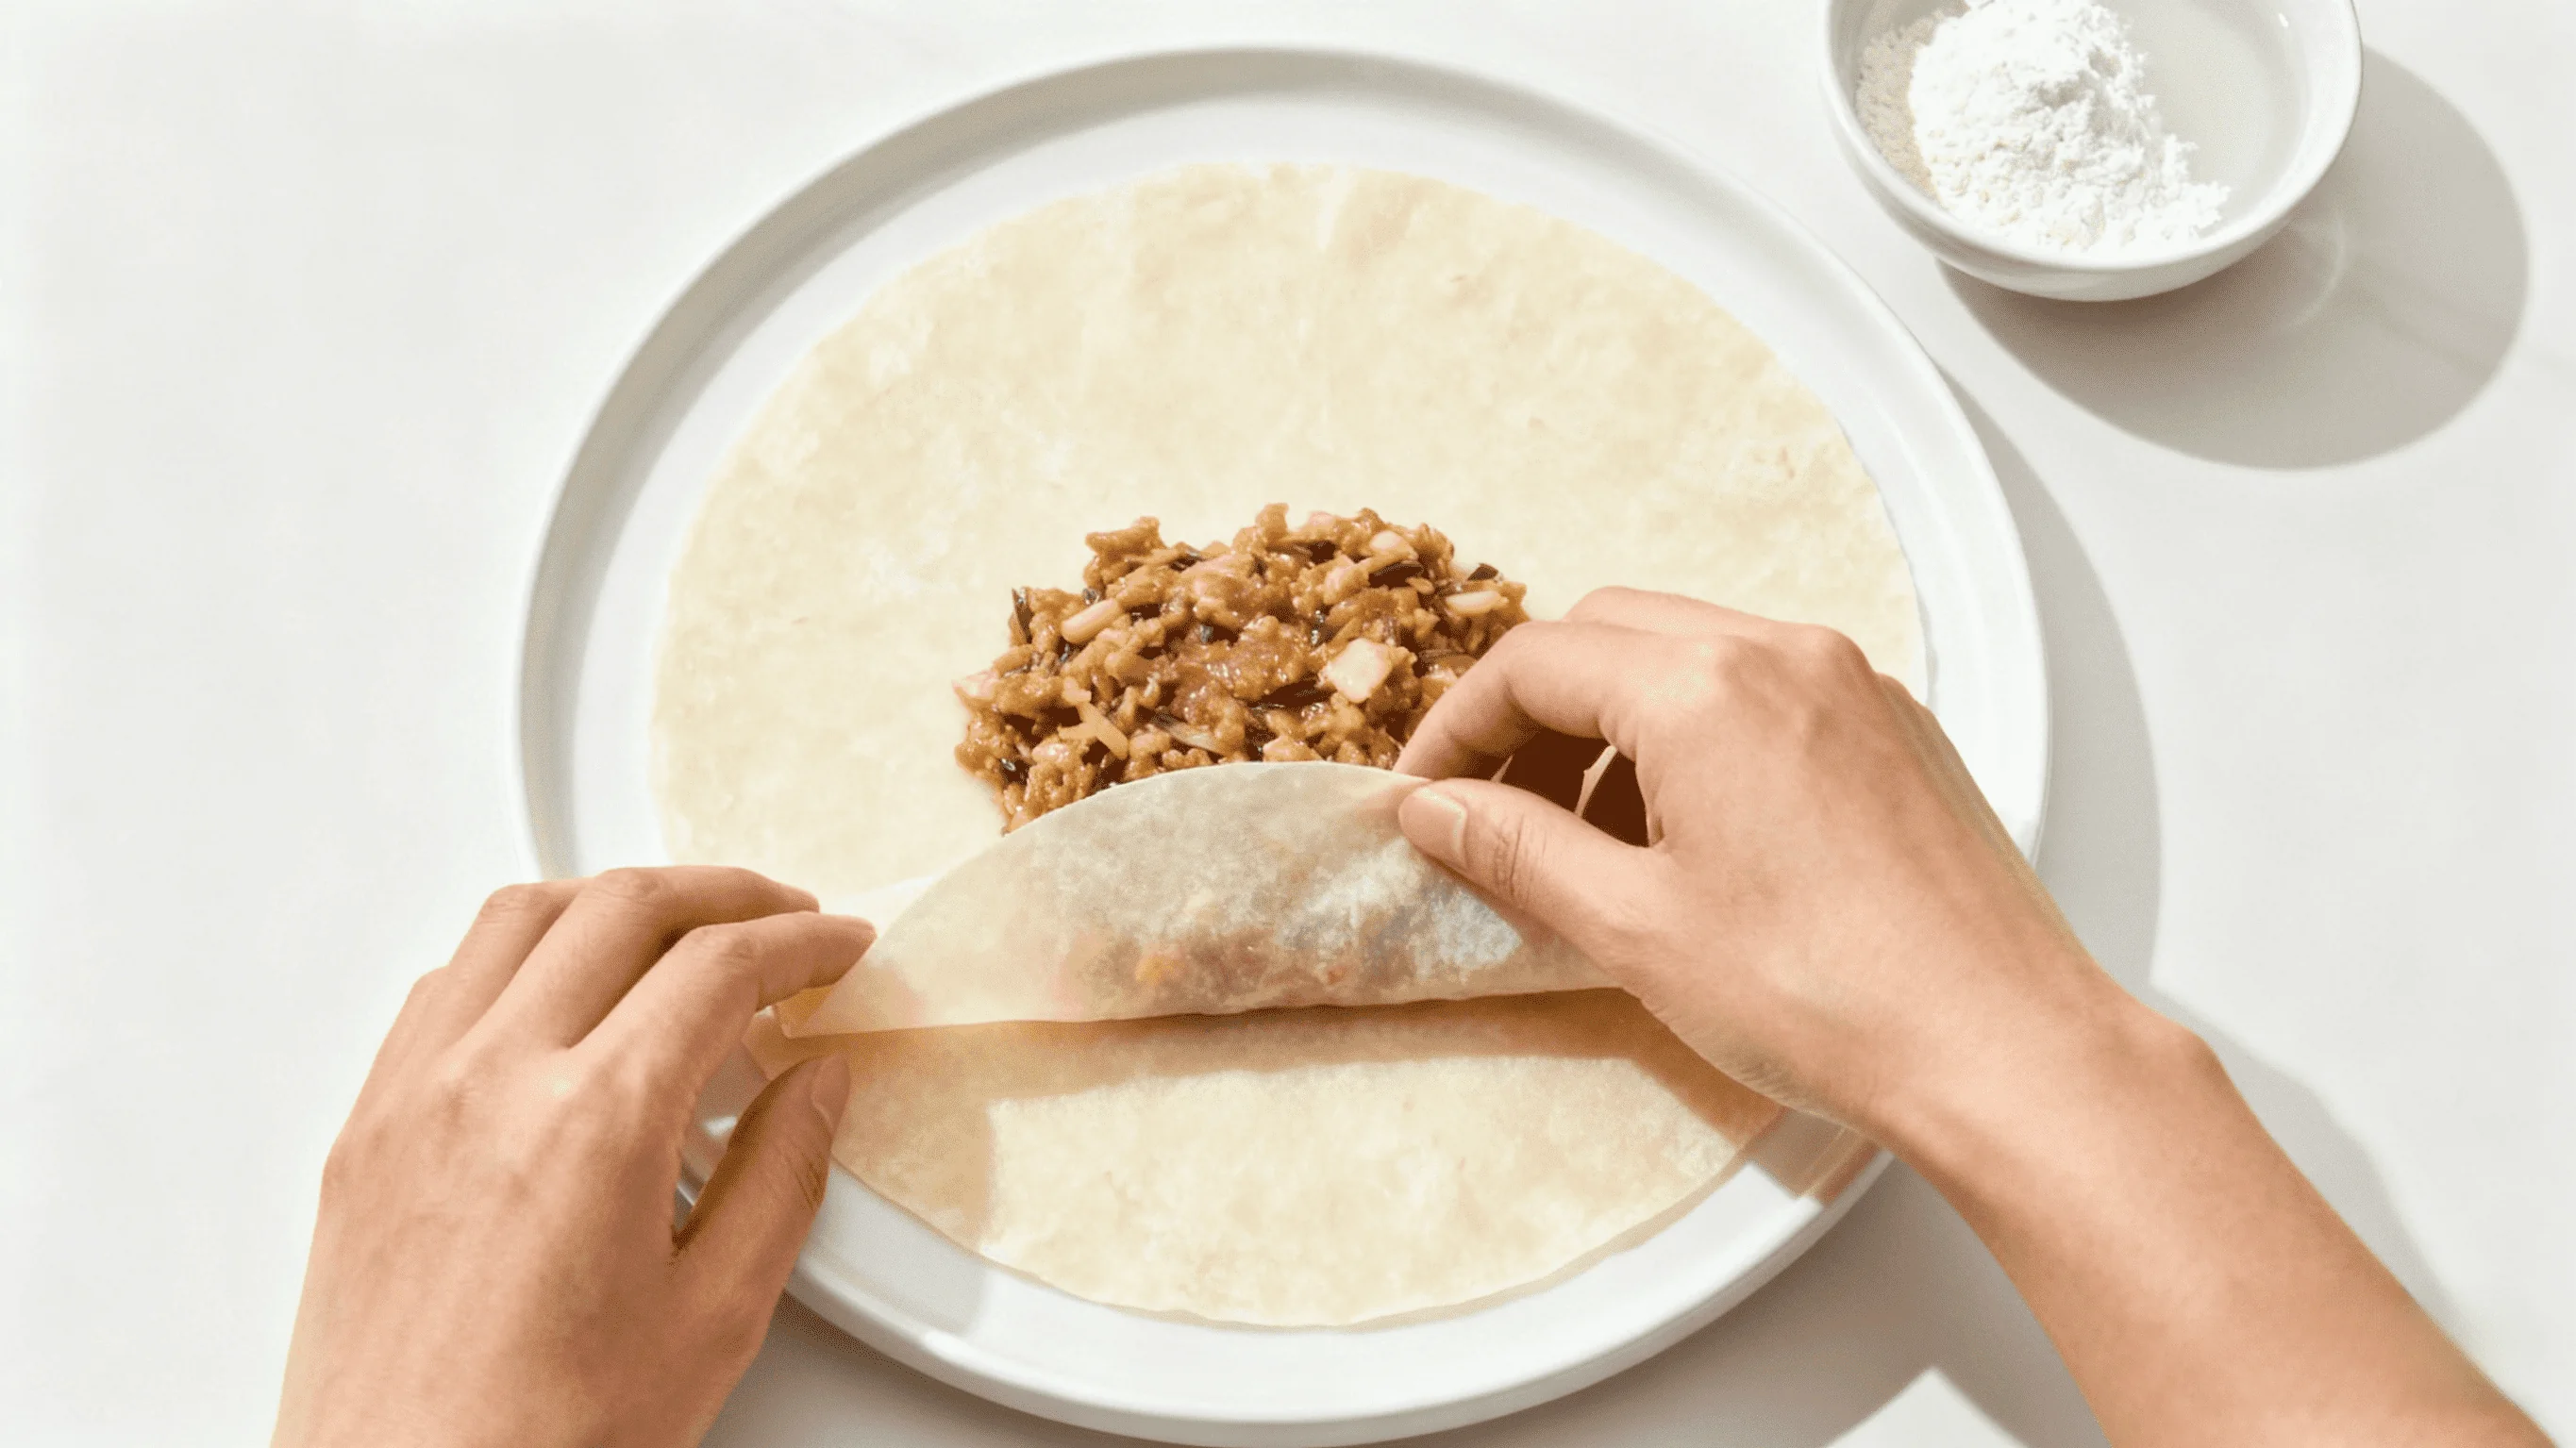 Wrap tightly but don’t break the wrapper
Step 4: Frying to Crispiness
- Pour oil into pan, heat to 160°C (medium heat)
- Add spring rolls, fry over medium-low heat
- Turn occasionally for even cooking
- Fry until golden crispy, about 5-6 minutes
- Drain oil, place on paper towels to absorb excess oil
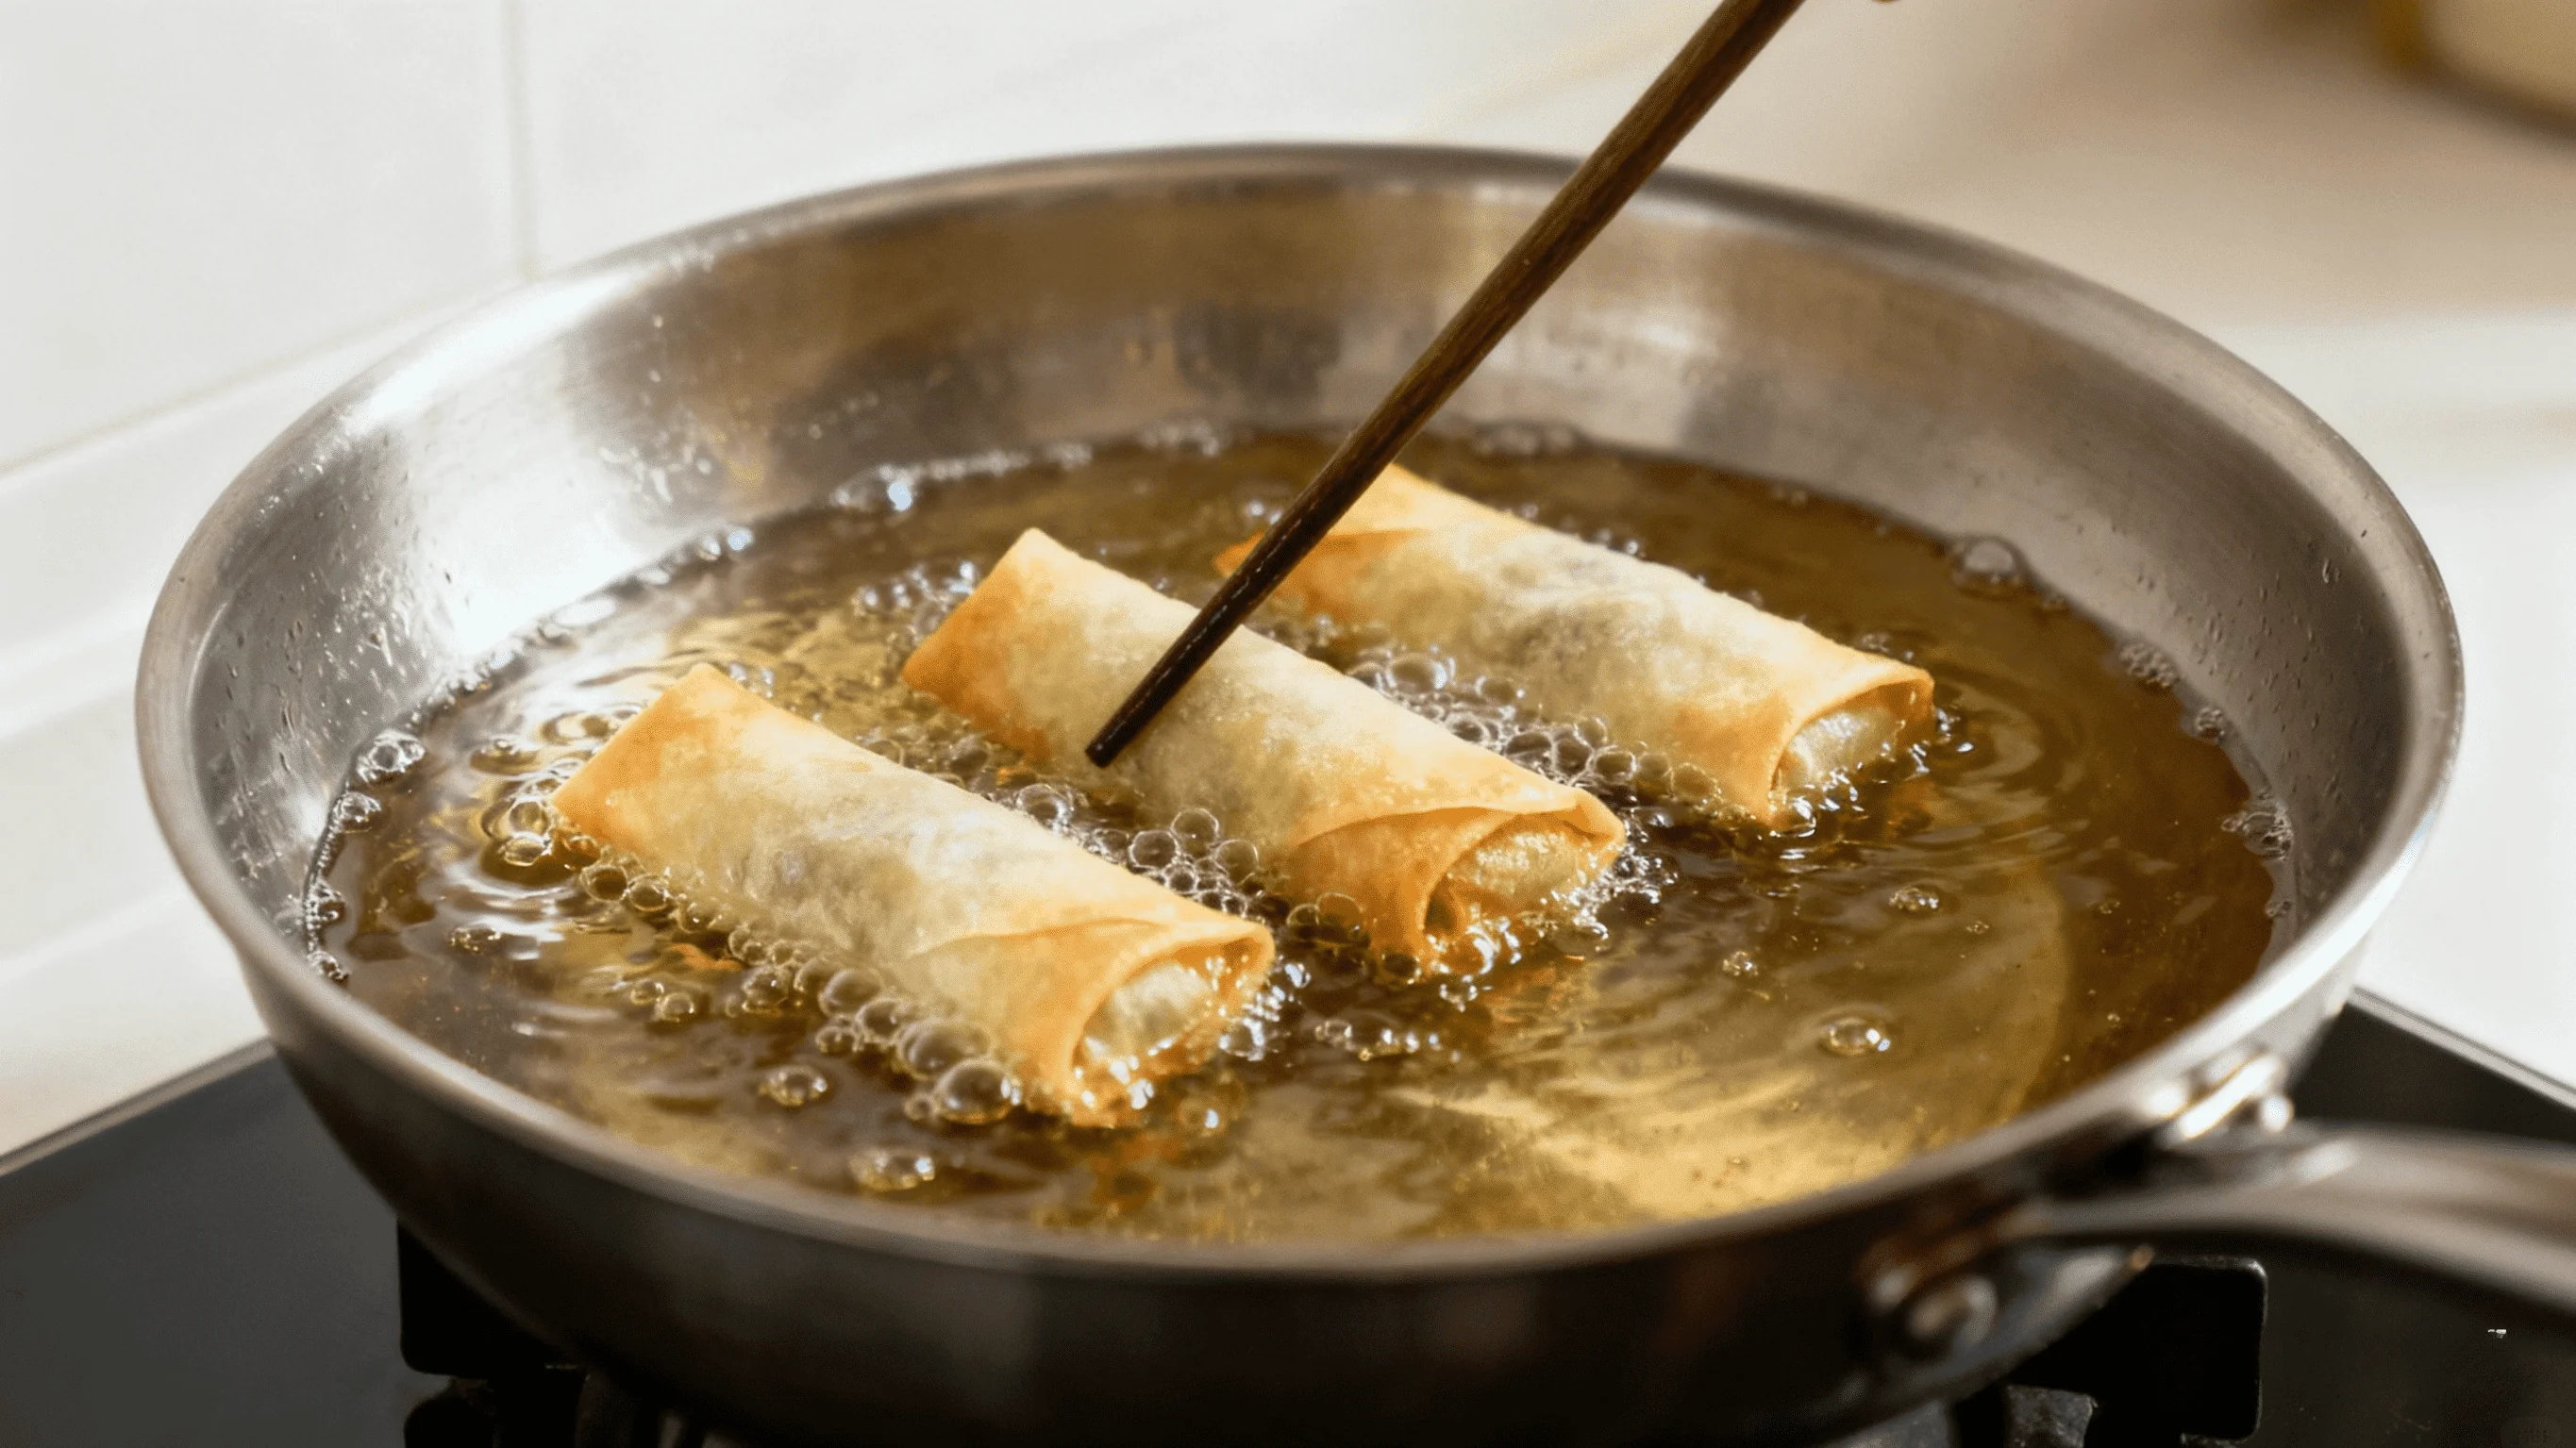 Oil temperature control is key to crispiness
Success Tips
🌟 Filling Preparation:
- Cut vegetables into uniform sizes
- Fillings must be completely cooled to avoid steam
- Keep fillings dry when cooking
🌟 Wrapping Techniques:
- Don’t overfill - 80% full is perfect
- Seal edges properly to prevent opening during frying
- Cover wrapped spring rolls with damp cloth to prevent drying
🌟 Frying Essentials:
- Oil temperature is most important: Too high = burnt outside/raw inside, too low = oily and not crispy
- Test oil temperature: small bread bubbles around it means ready
- Don’t fry too many at once to avoid temperature drop
Variations & Innovations
- Vegetarian version: Replace meat with tofu and mushrooms
- Spicy version: Add chili powder or hot sauce
- Extra crispy version: Add sesame seeds to wrapper dough
Dipping Sauce Recommendations
- Sweet chili sauce
- Garlic vinegar sauce
- Peanut dipping sauce
- Simple soy sauce + sesame oil
Storage Methods
- Raw spring rolls can be frozen
- Fried spring rolls can be reheated in oven after refrigeration
- Best enjoyed fresh and hot
Although this homemade spring rolls recipe has several steps, each one is easy to master. Especially during holidays, making spring rolls with family is such a joyful experience! I hope everyone can make satisfying crispy and juicy spring rolls!